AR Design Guide
Place equipment directly into the physical room using augmented reality on your iPhone or iPad. Items are positioned at real scale in the actual space, and the result is saved as a design — ready to continue refining in BMR Studio.
You never name or manually save an AR Design. One is created automatically — Design 1 (rename any time with the pencil) — and kept saved locally as you work. Upload it with Upload & Exit when you are done. If you tap ✕ to leave, you are asked whether to Save and leave, Discard, or Go back and keep designing.
Before you start
A room scan is required before starting an AR Design. The scan provides the coordinate space that links AR-placed items to the room model. If no scan exists, the app prompts you to scan the room first.
Room verification
When you start an AR Design in a scanned room, BMR Mobile first relocalizes against the original scan — so whatever you place is anchored to the correct spatial position. Move the device slowly around the space so it can match what it sees to the room scan.
You will see:
- Verifying room… while it looks for a match.
- Room verified once relocalization succeeds — you can then place equipment with confidence that it is anchored correctly.
- If it cannot find the room, you can Retry or Continue without verification.
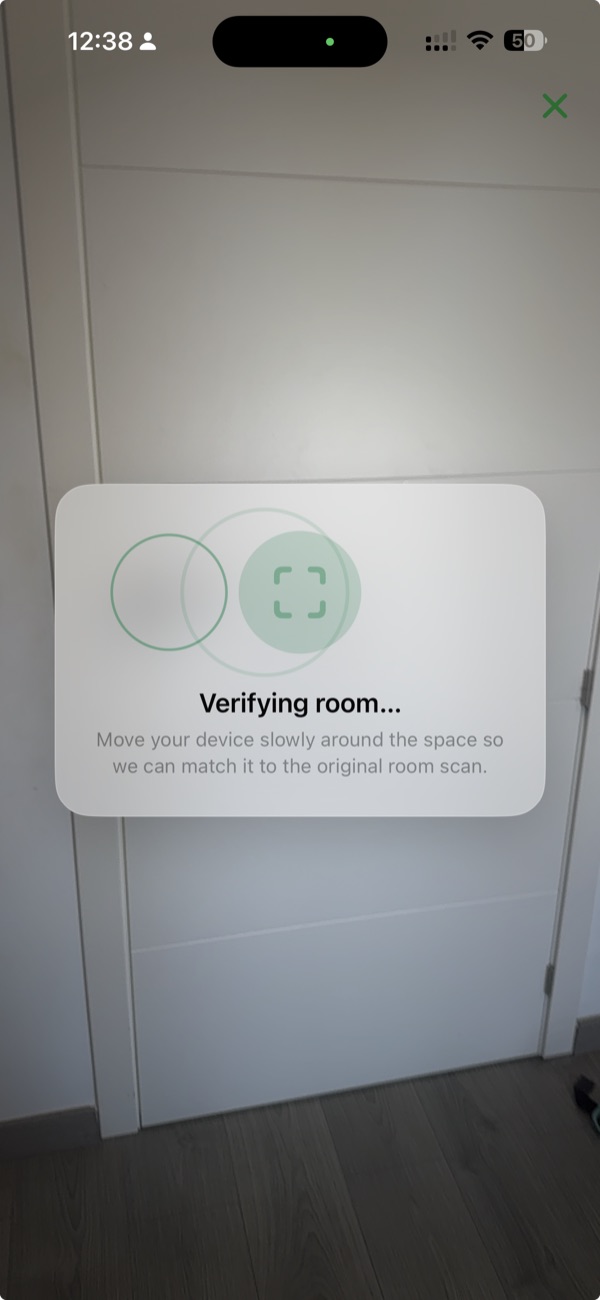
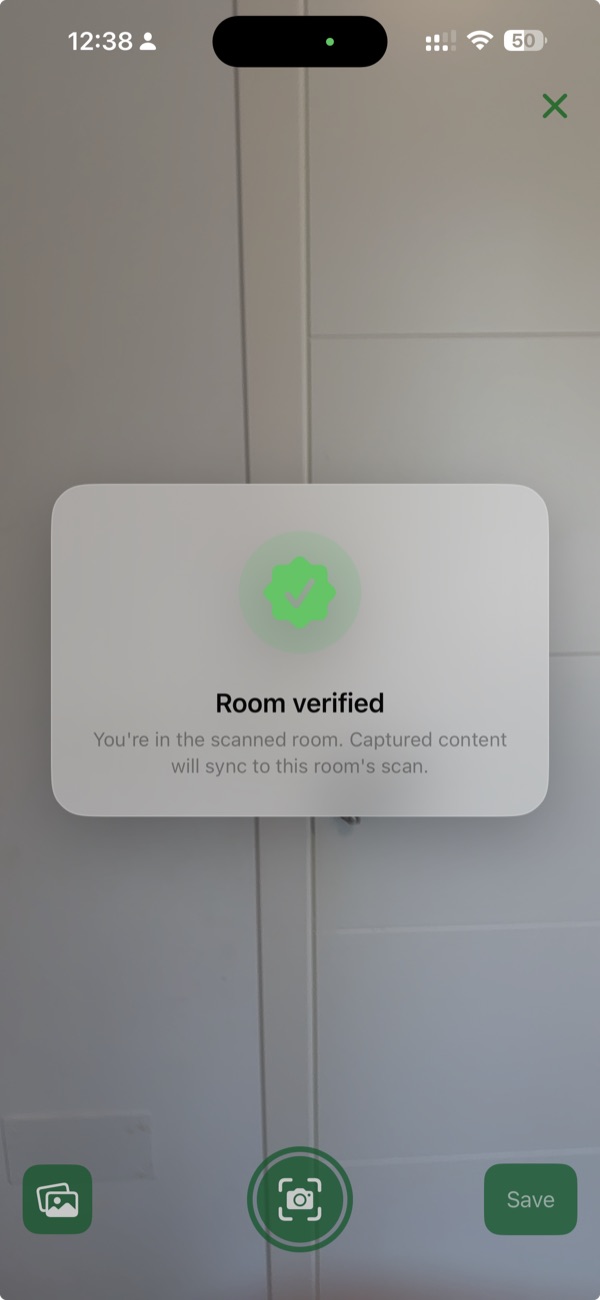
The same verification also runs when you add a new marker or start a new acoustic measurement in a scanned room.
The AR Design flow
Once the room is verified you are in the design session. There is no naming step — start placing straight away.
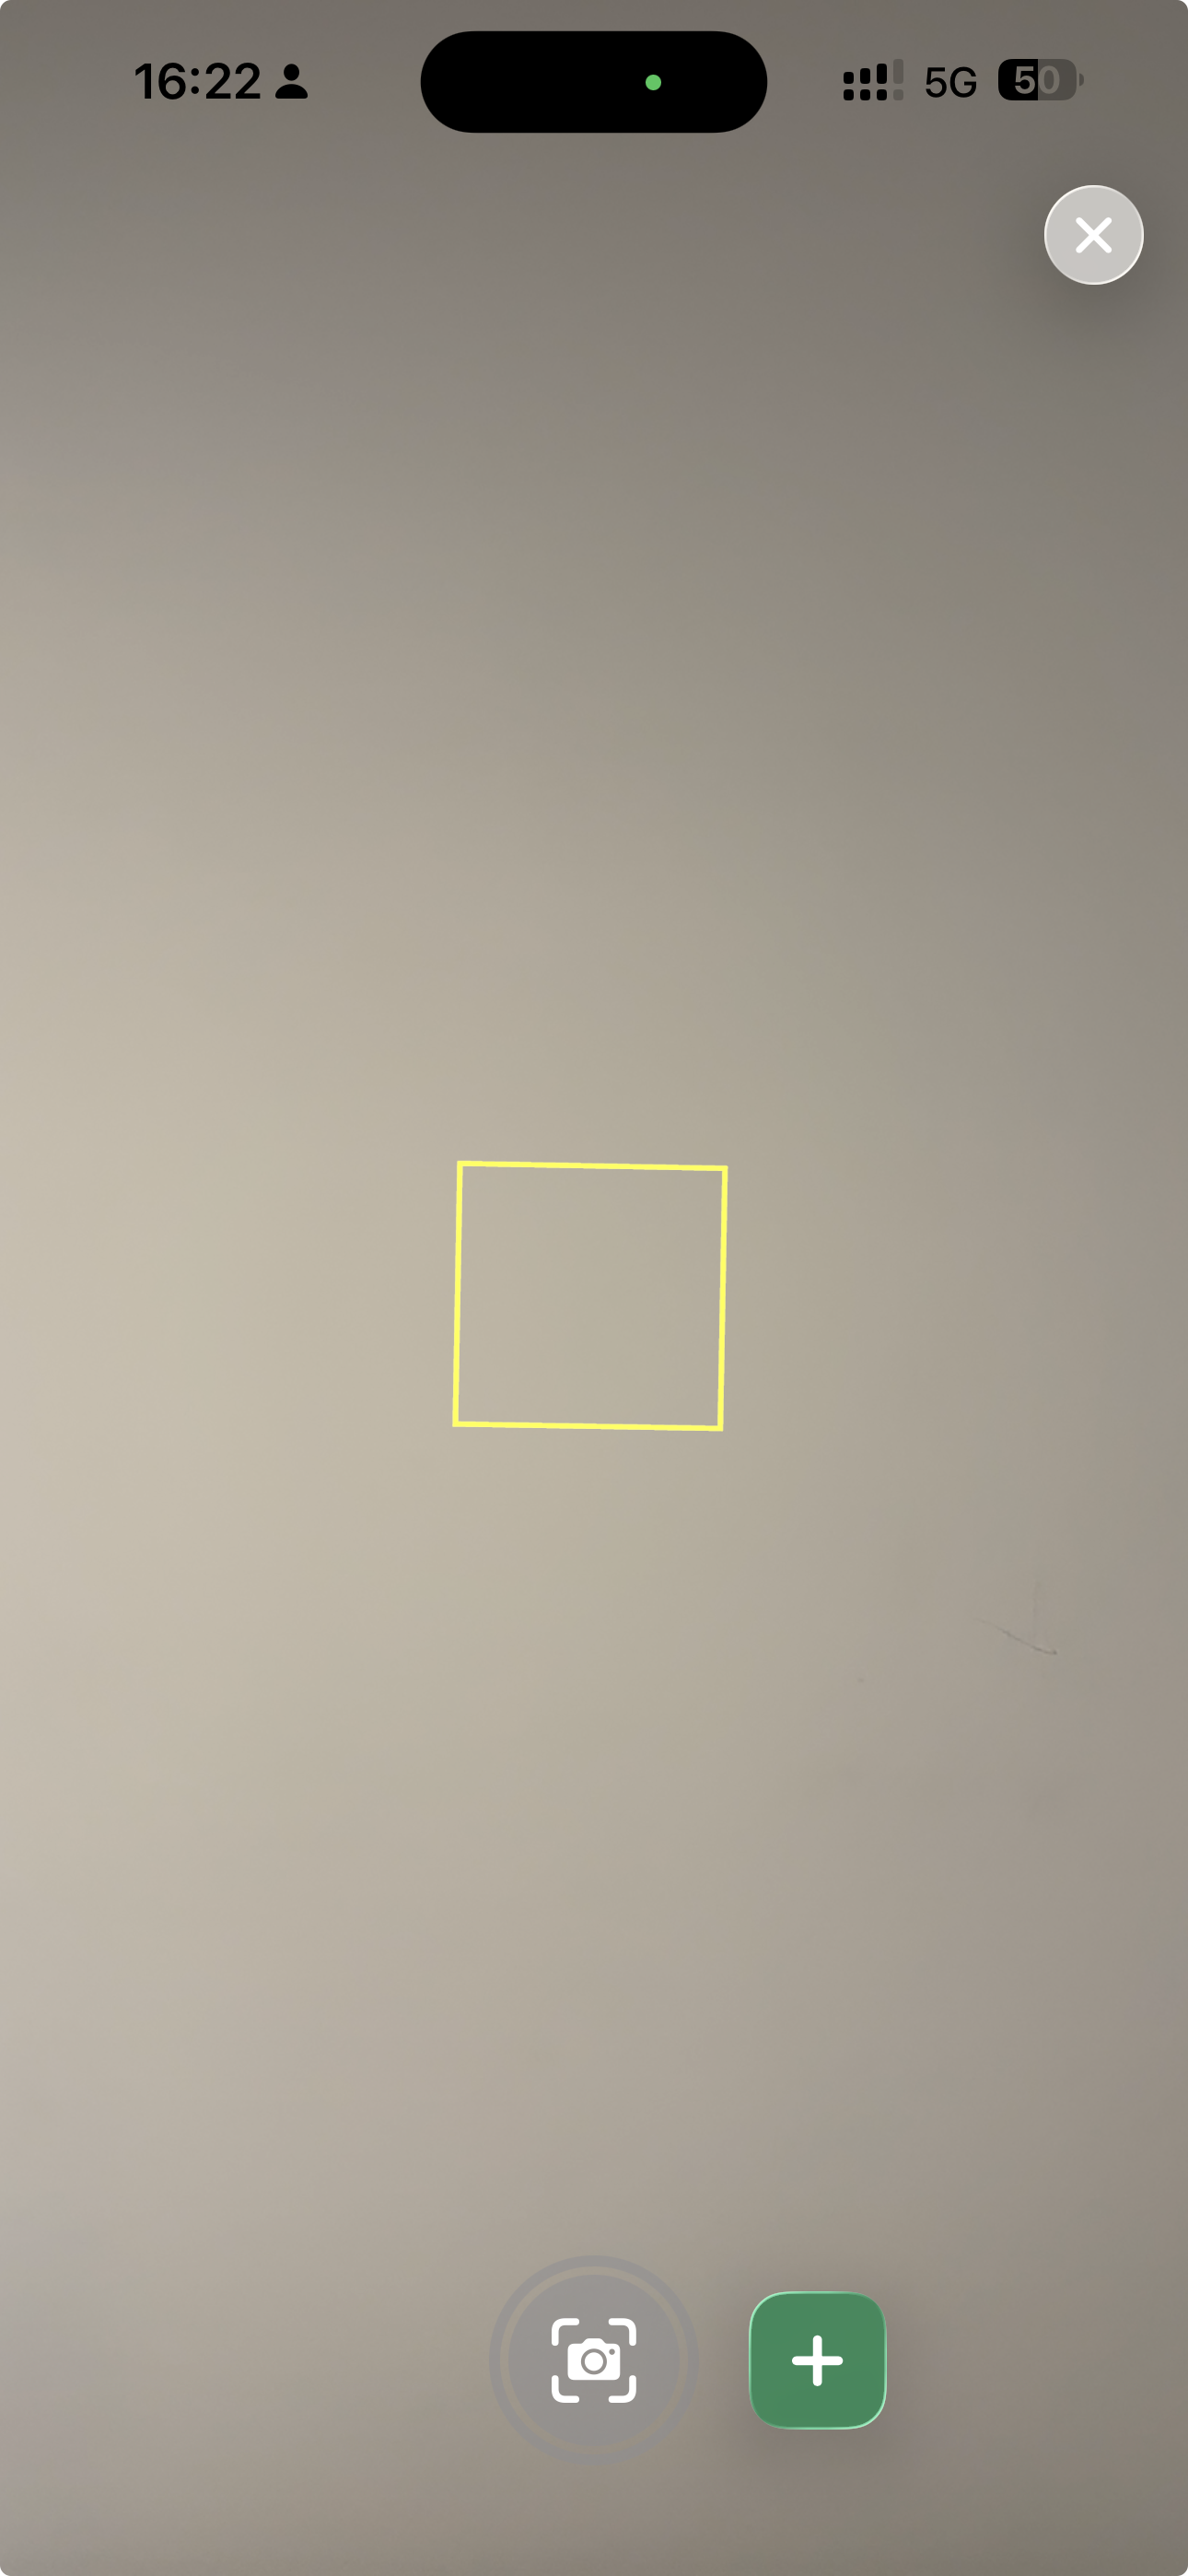
Once the room is verified you are in the design session, with a placement guide on the surface in front of you. Tap the green + to add equipment, or the shutter at any time to capture a photo of the design.
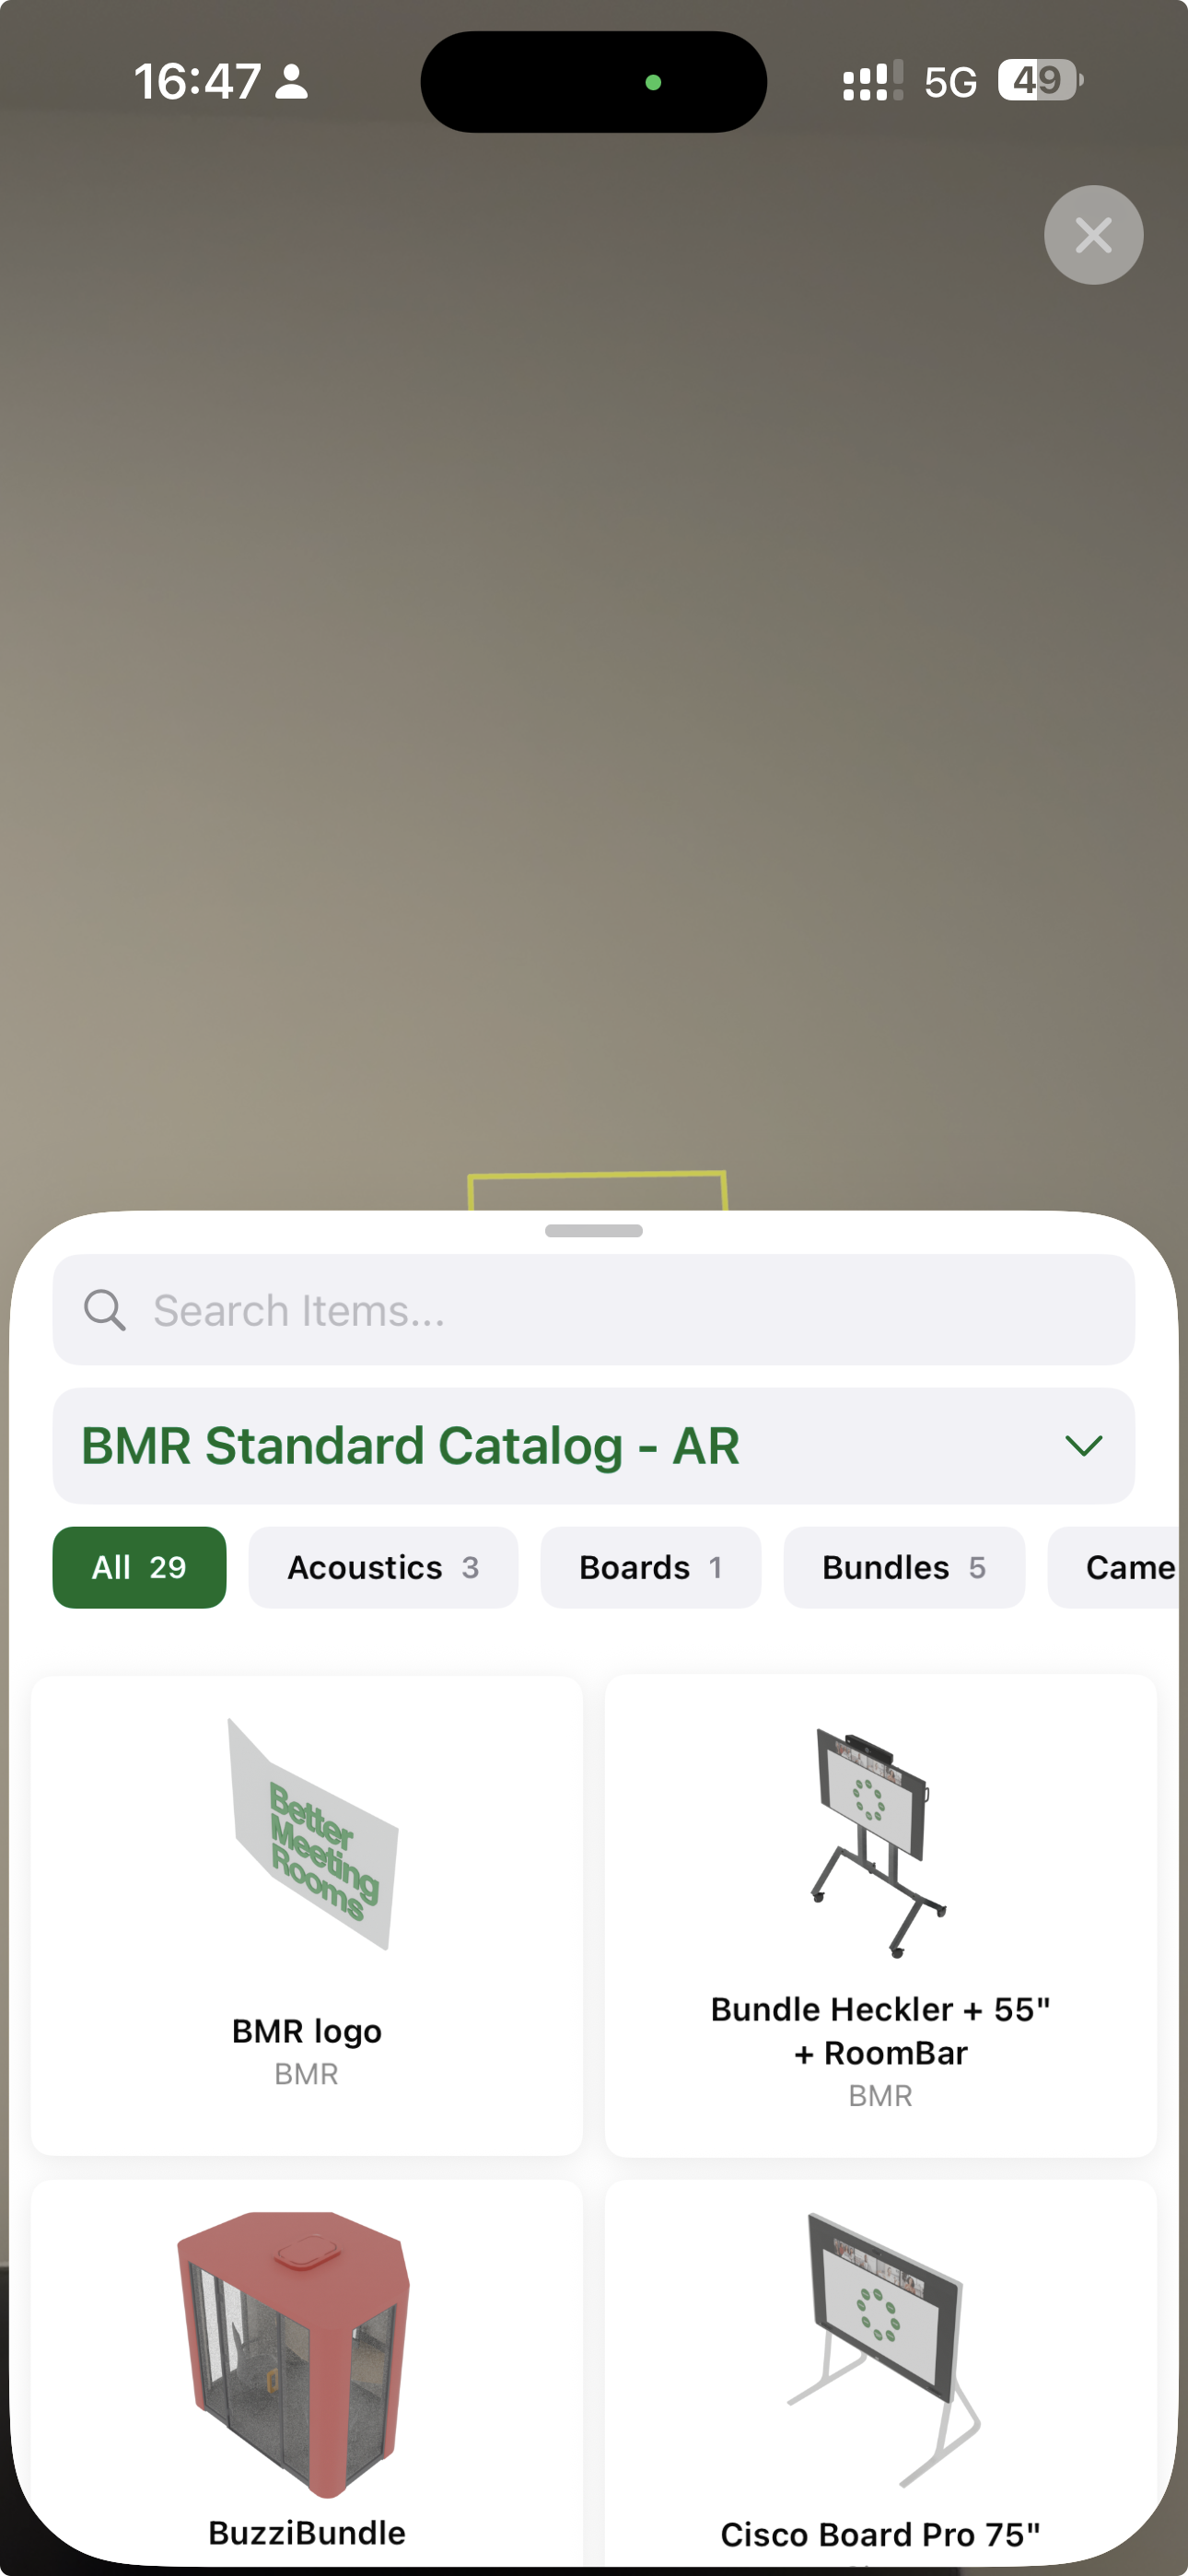
Tap the green + to open the AR catalog (BMR Standard Catalog - AR). Search, or filter by category — Acoustics, Boards, Bundles, Cameras, and more — then choose an item.
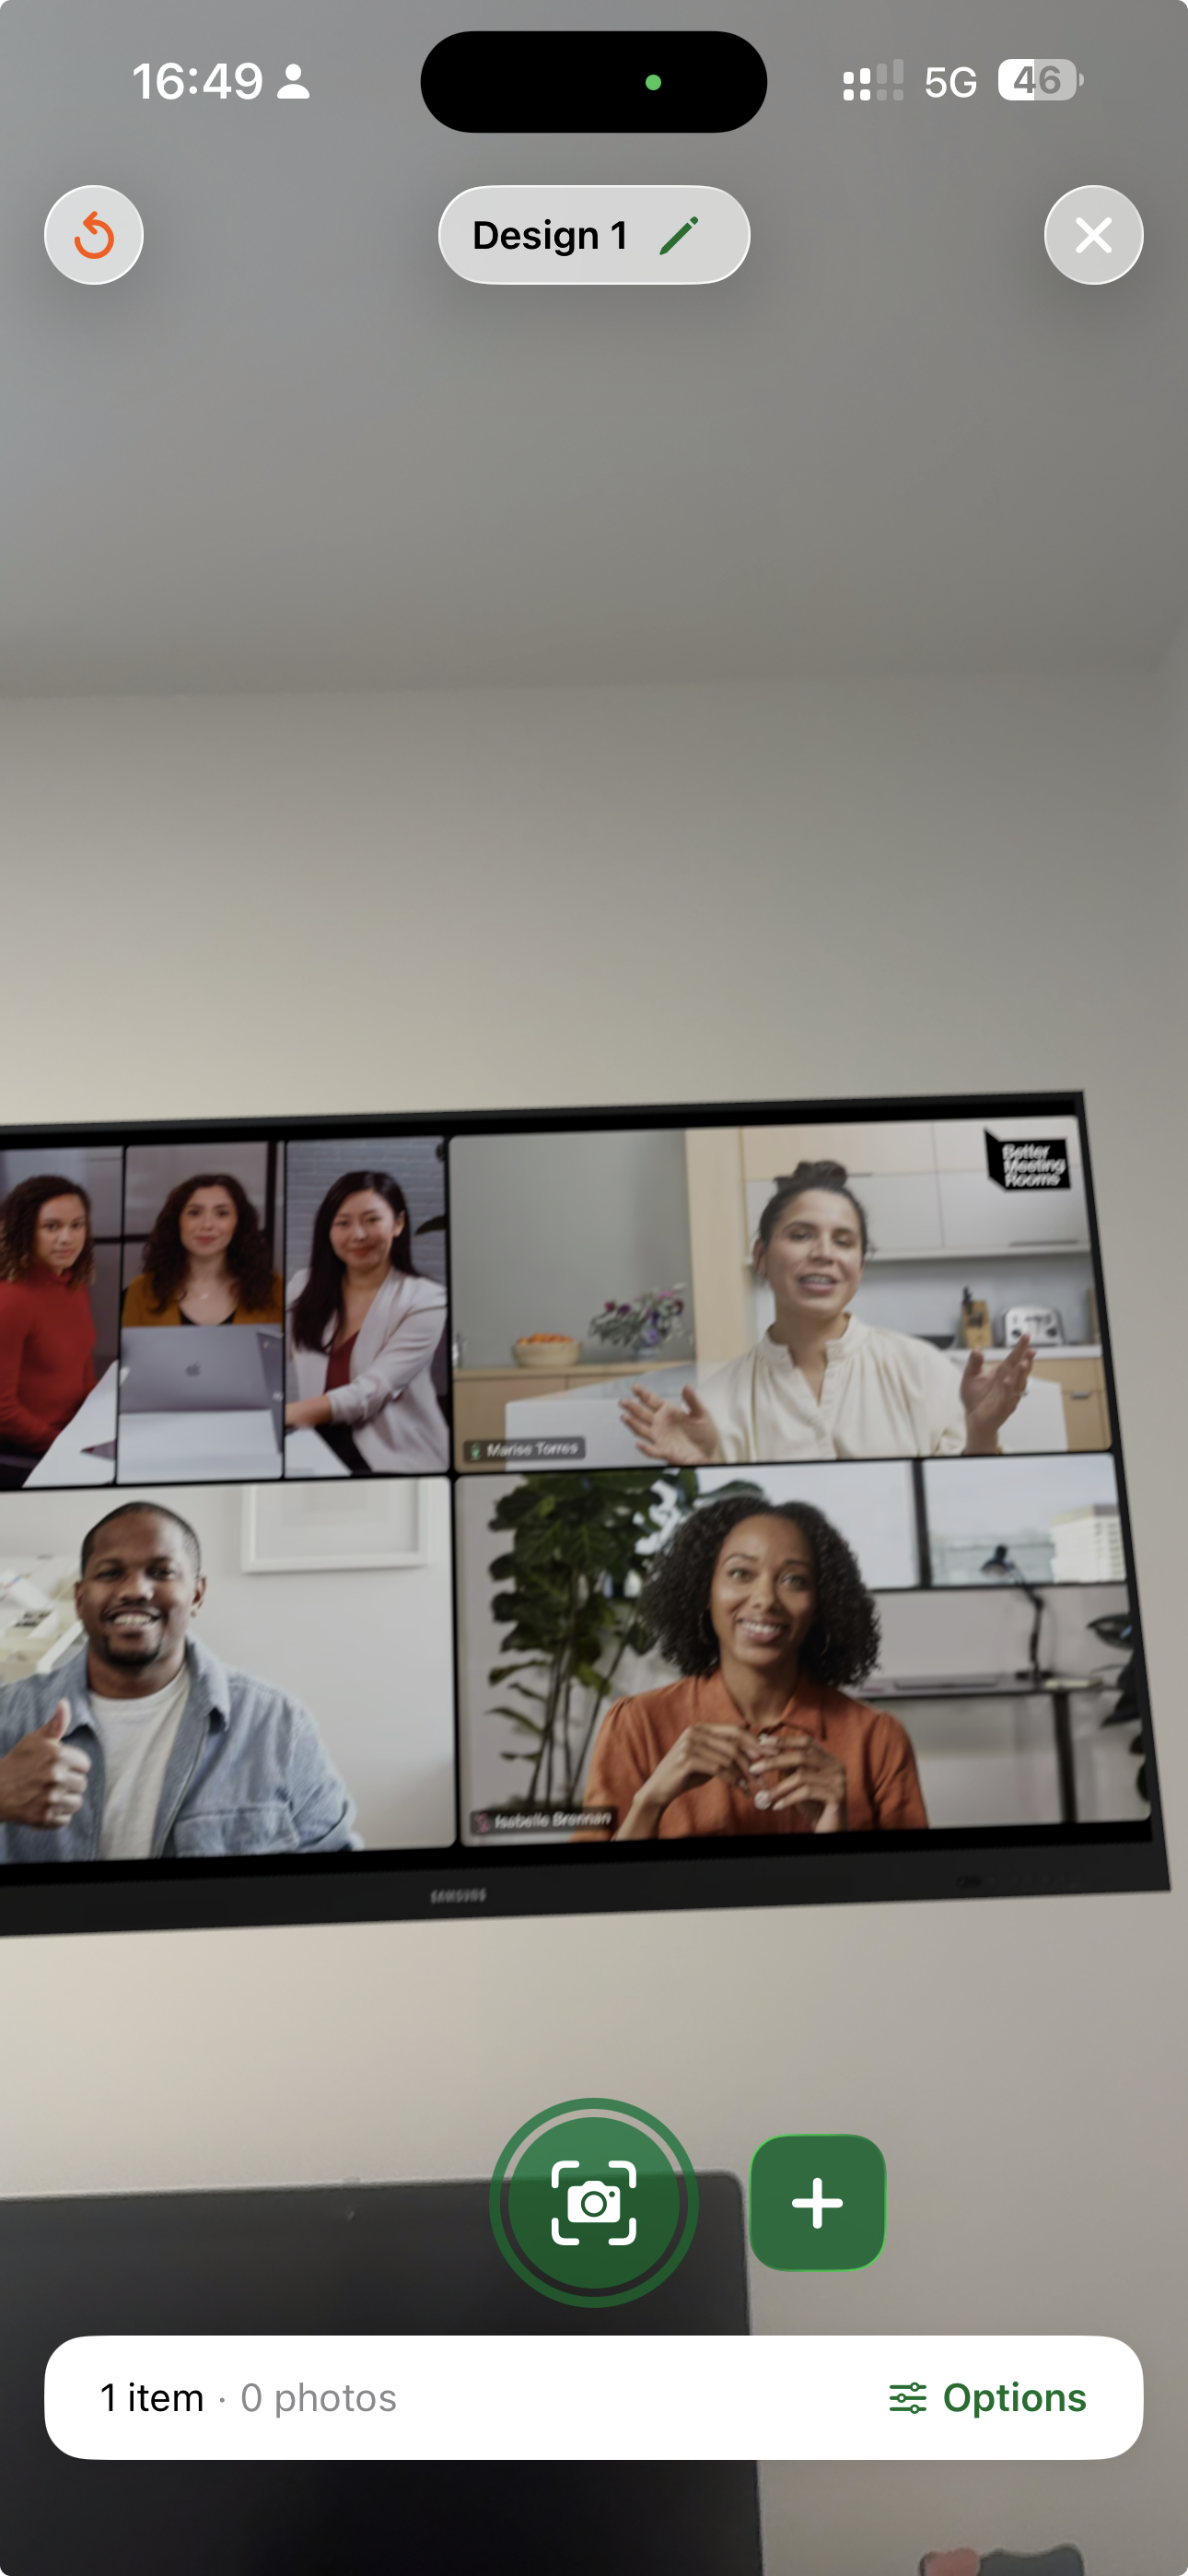
Position the item at the right place in the physical space. Move and rotate it until the placement is right. Add more items with +, and capture the current view with the shutter.
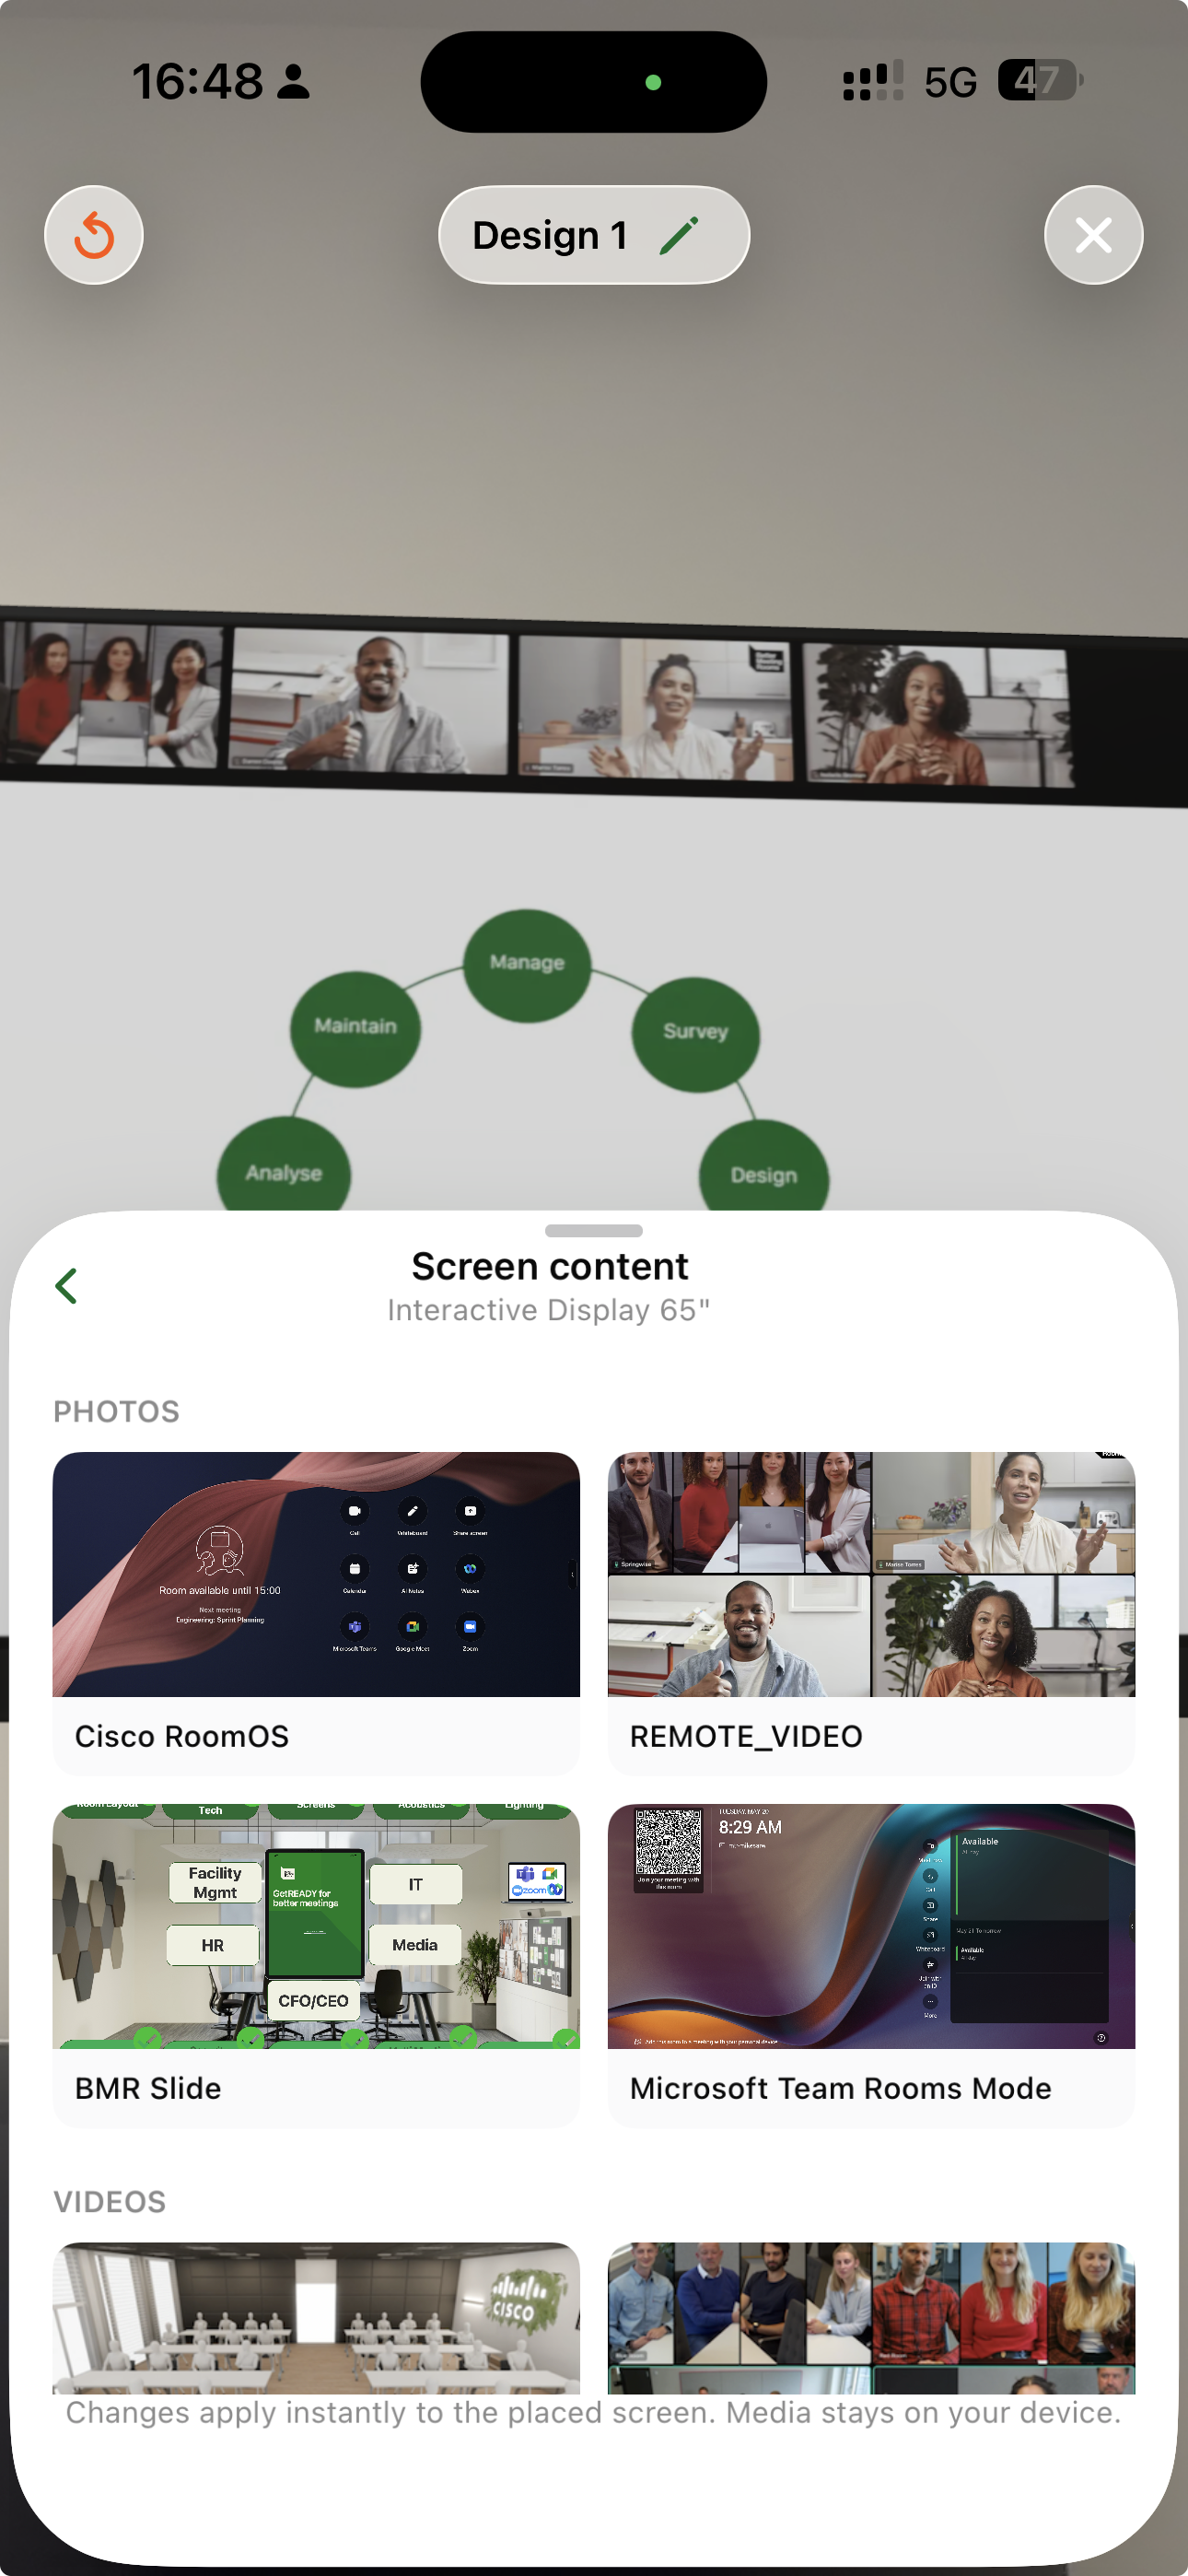
For screens and displays, open the design drawer and tap the wand on the item to set what the screen shows — a still image or a video. Changes apply instantly to the placed screen, and the media stays on your device.
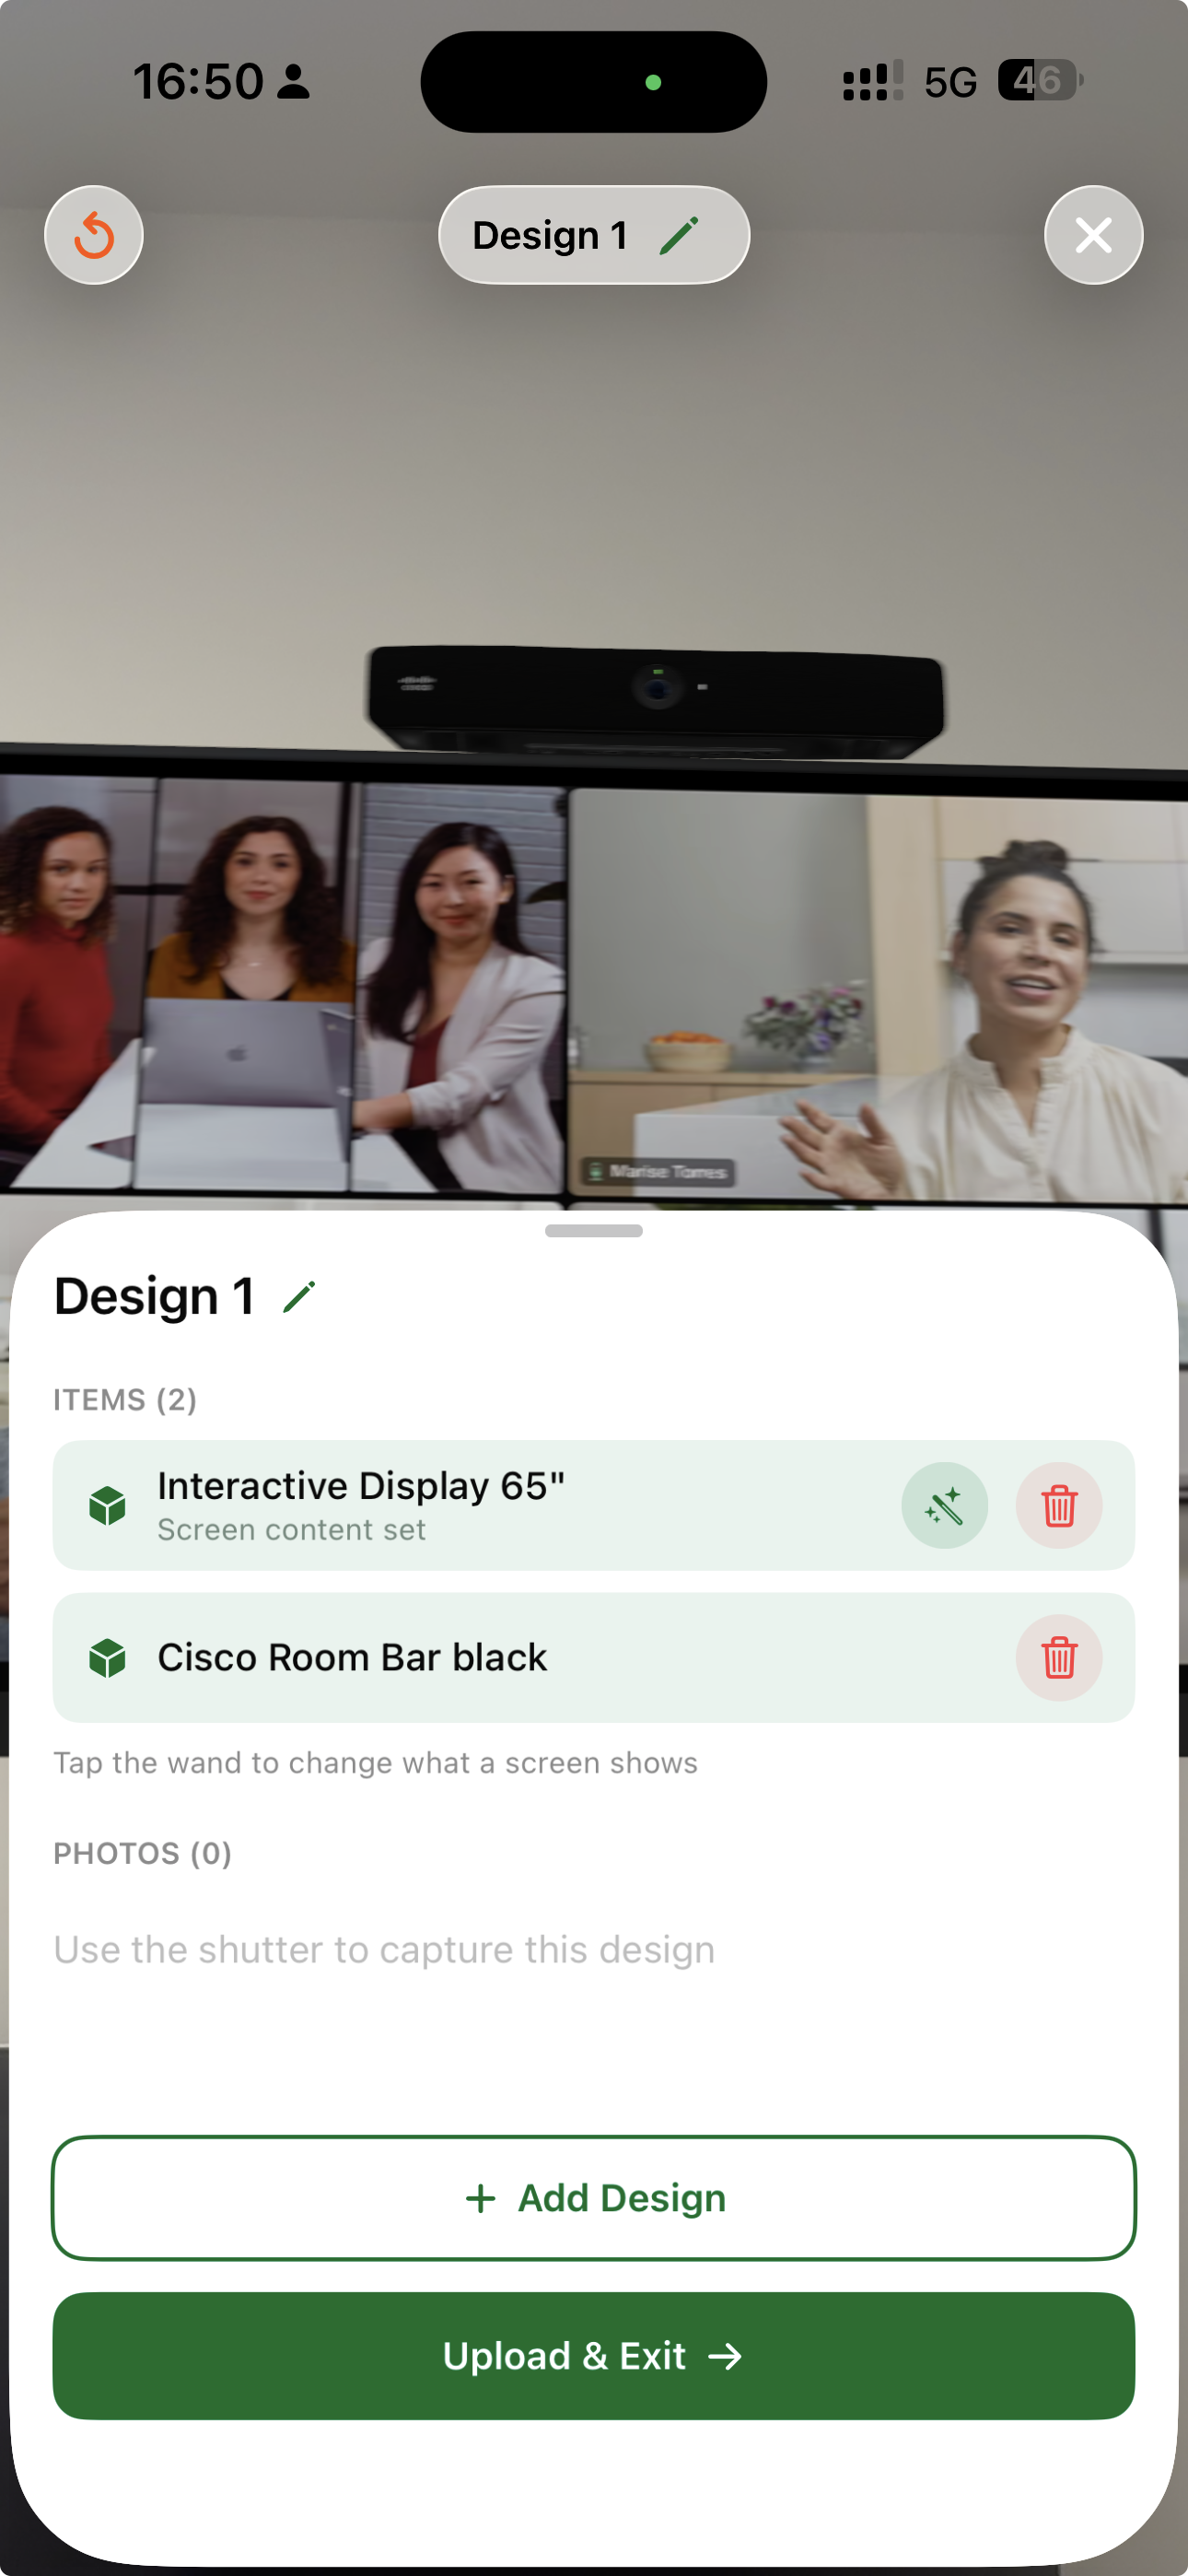
The design drawer lists every placed item — delete one with the trash icon, or tap the wand to change a screen. Any photos you capture are listed here too. Finish with Upload & Exit, or Add Design to create a variant.
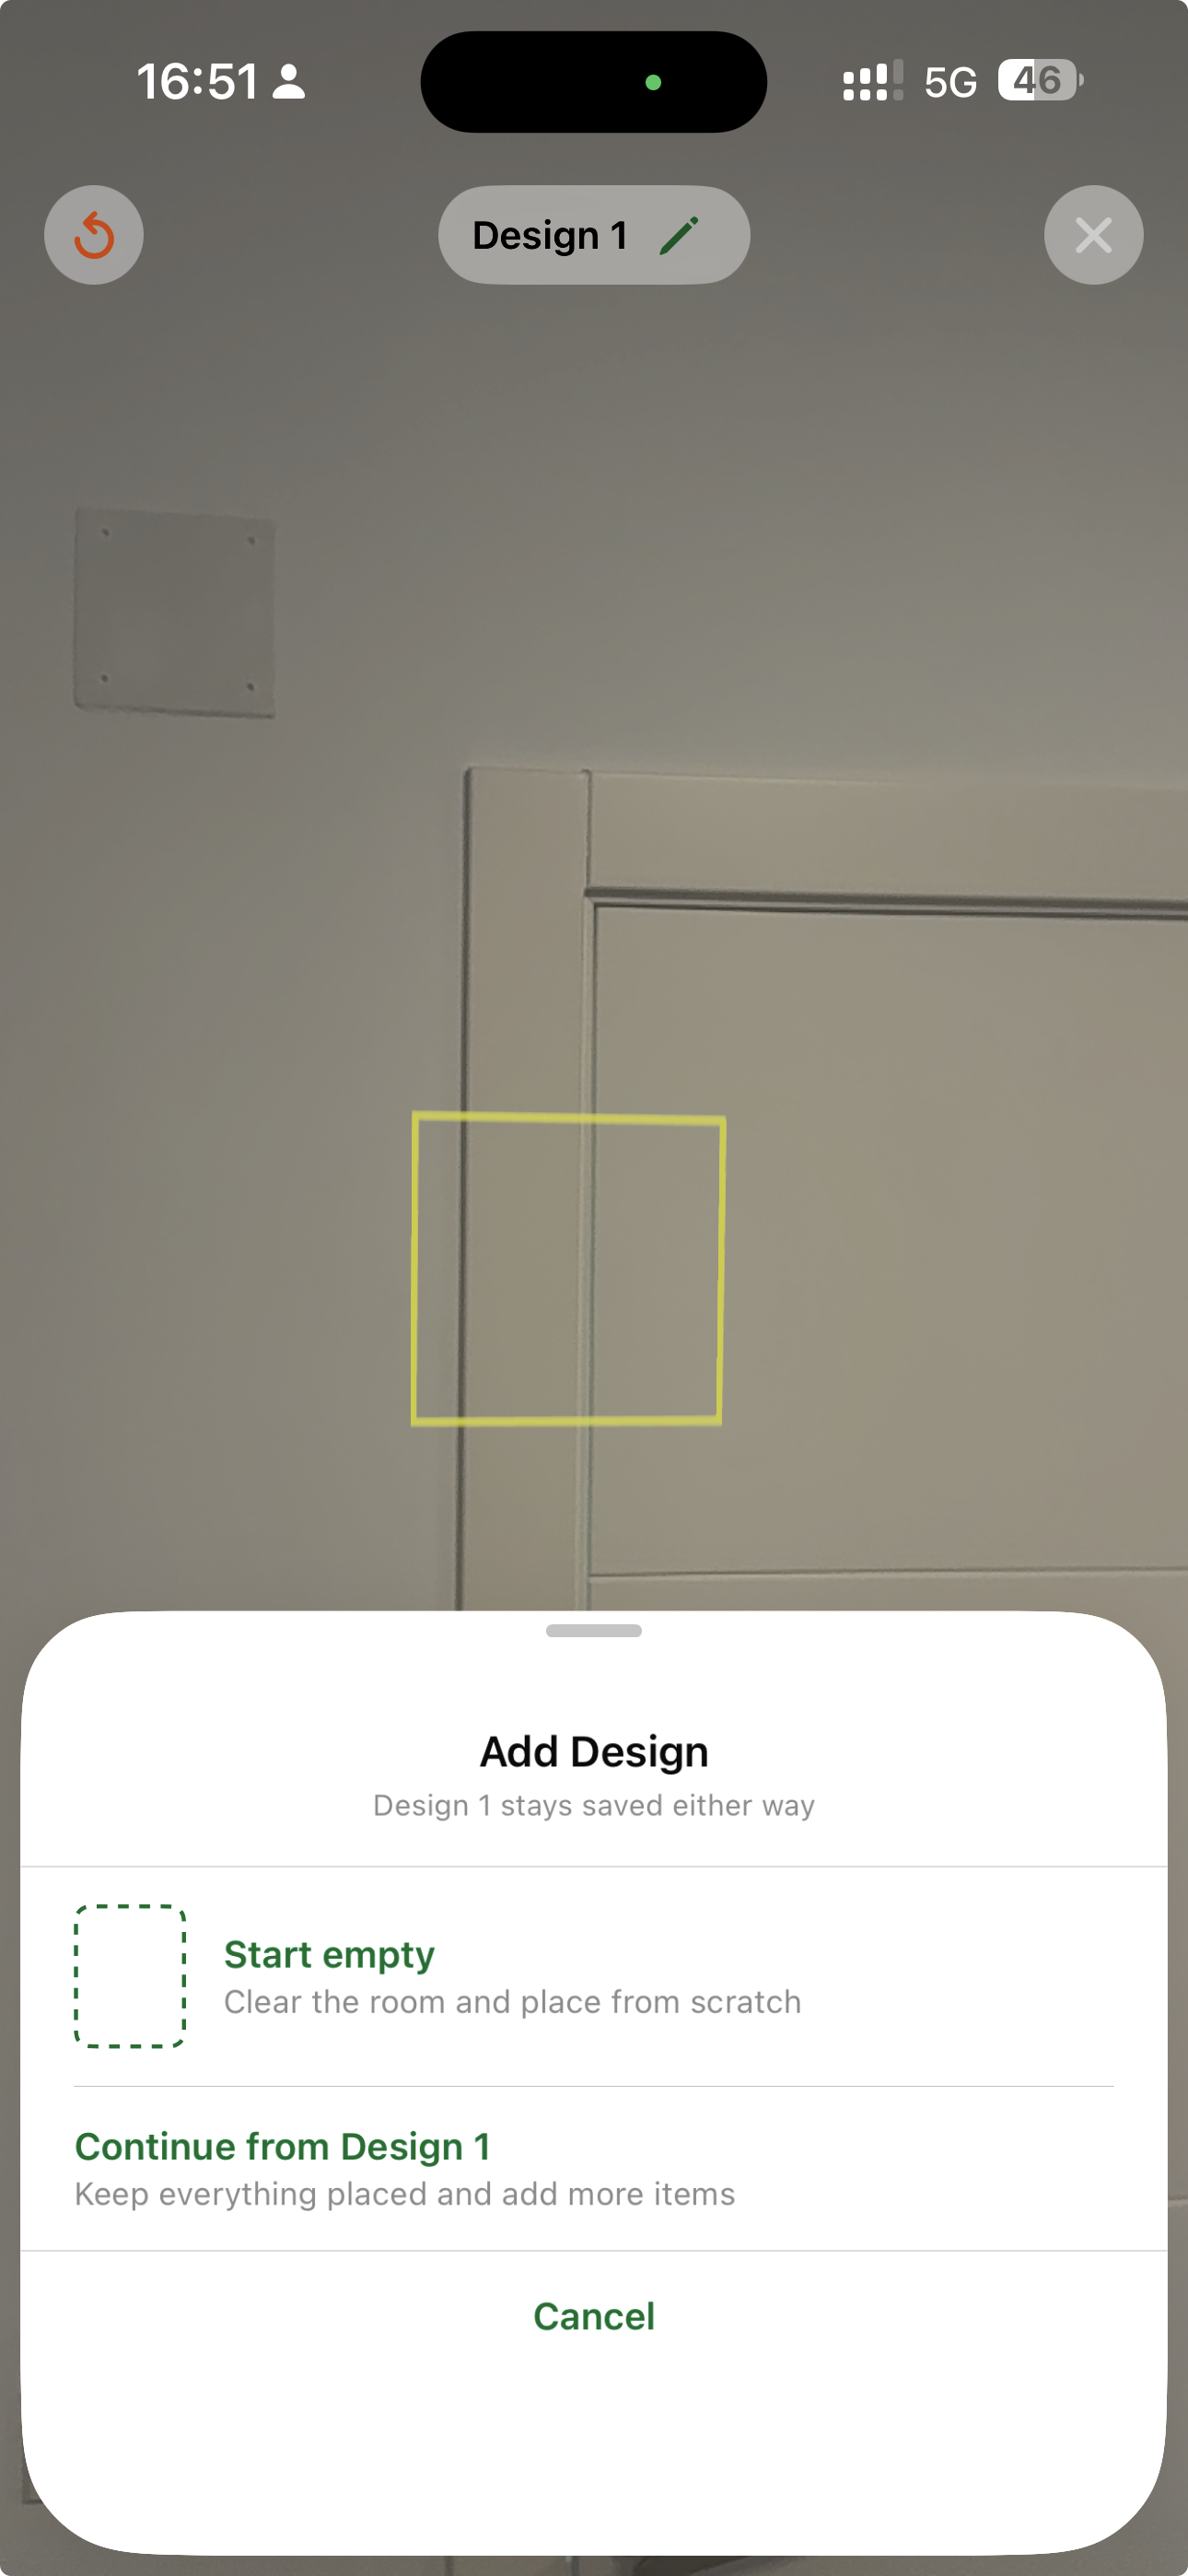
Add Design creates a variant of the current design — Start empty to clear the room and place from scratch, or Continue to keep everything placed and add more. Either way, your first design stays saved.
Finishing up
When you are done, upload your work from the design drawer.
- One design — tap Upload & Exit and it uploads directly.
- Several designs — the drawer's All designs tab lists them all (the one you are editing is marked Current), and the button becomes Review & upload all.
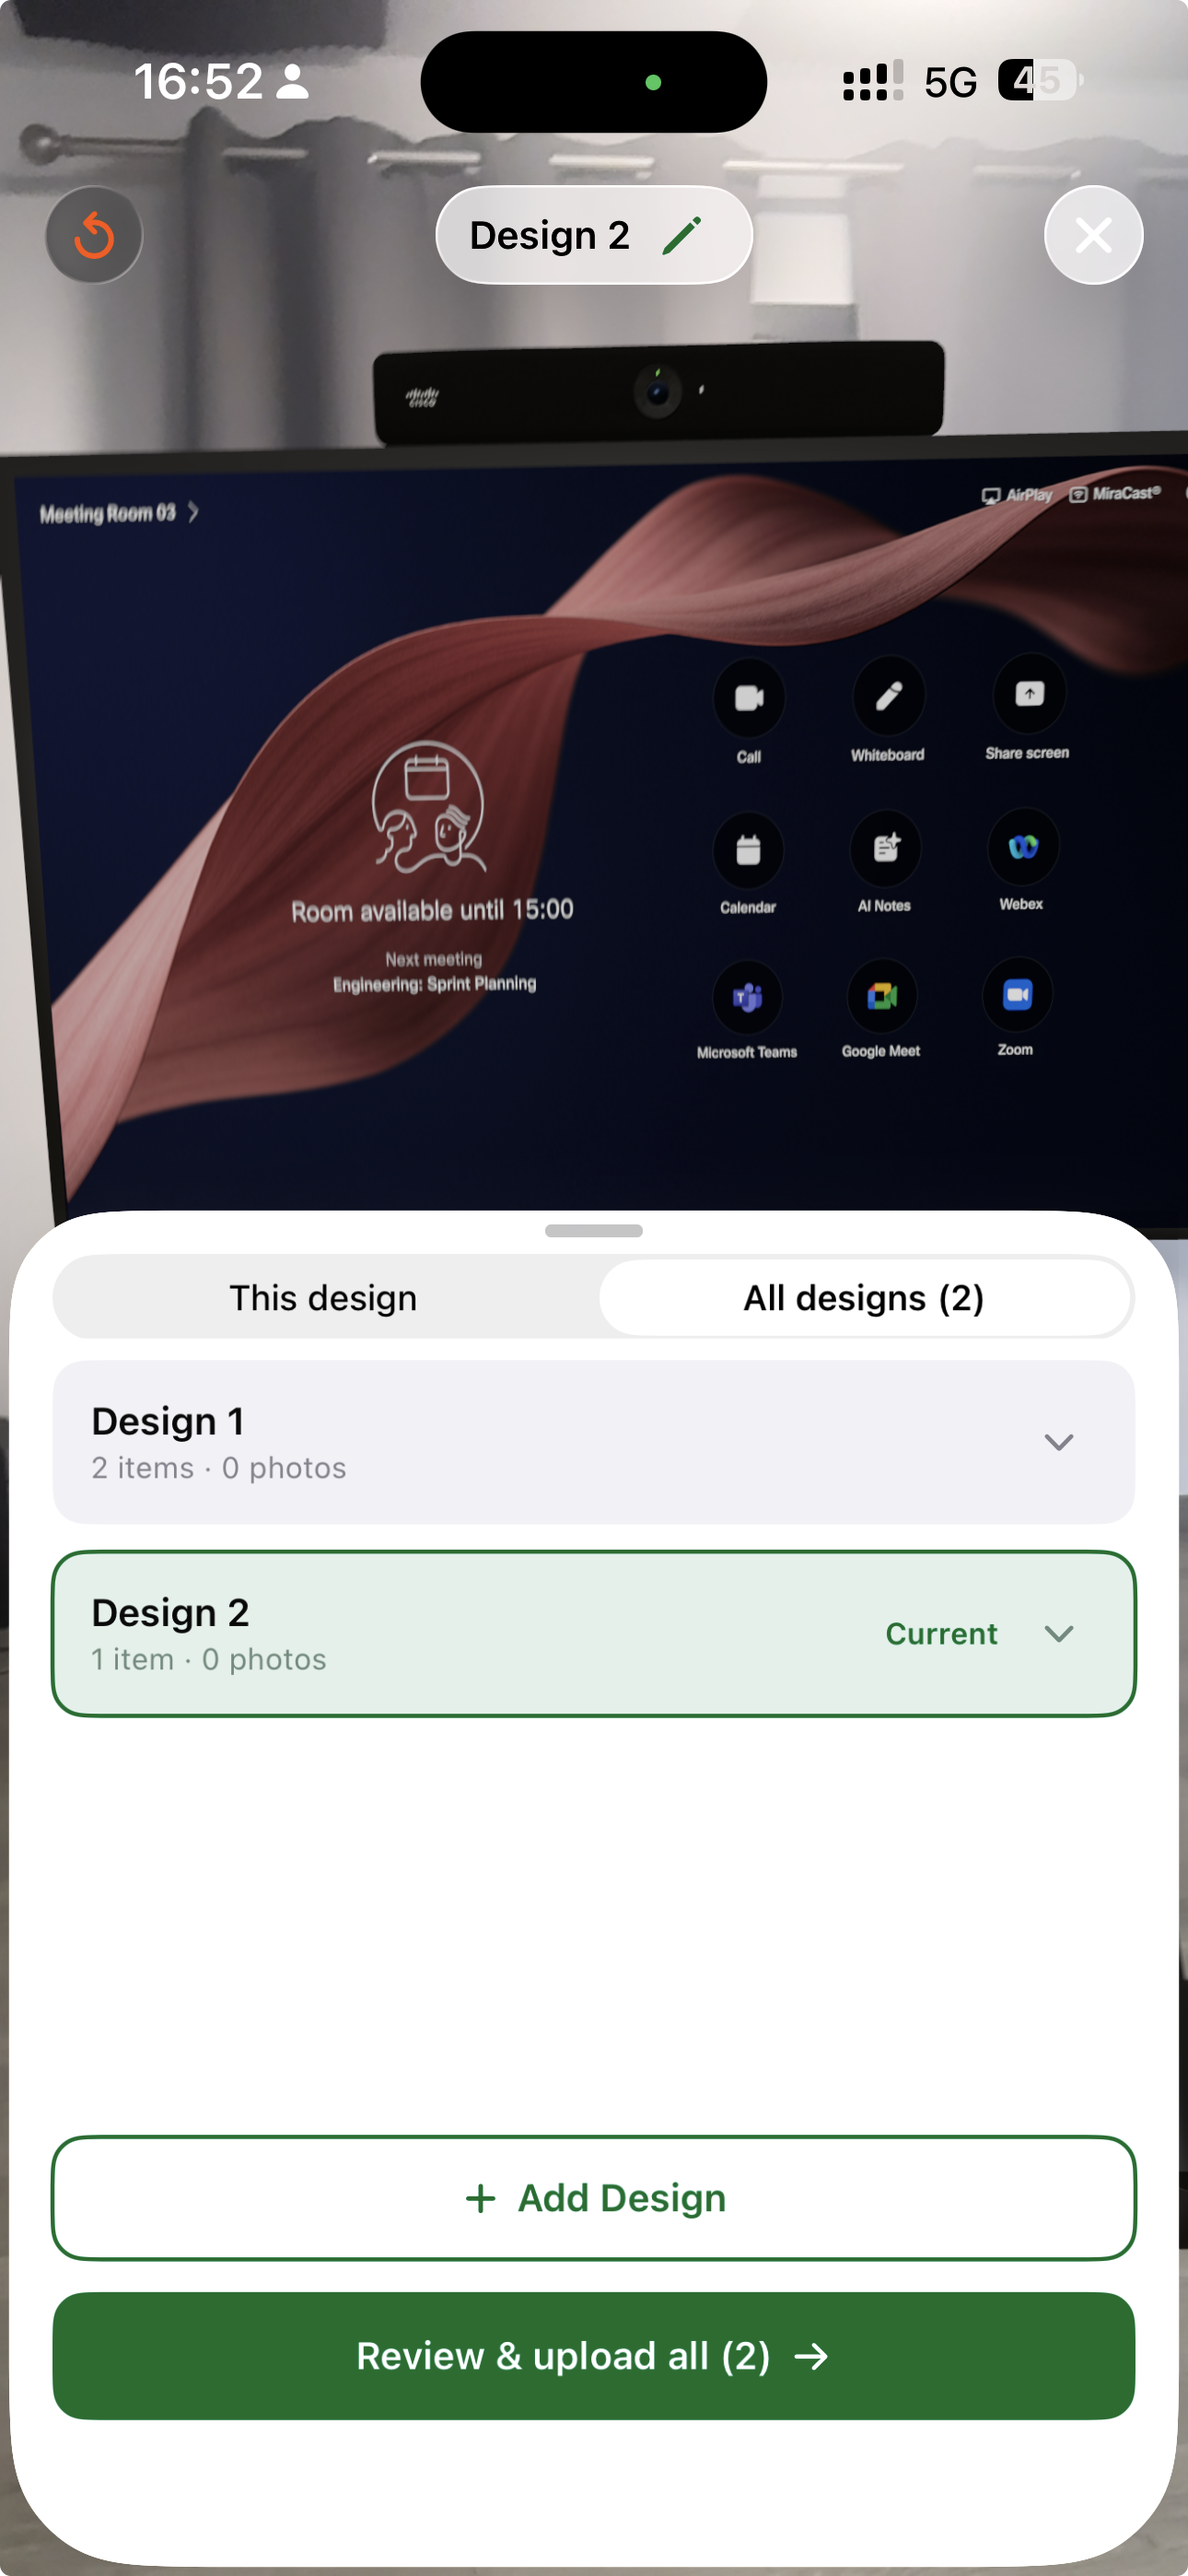
With more than one design, switch to the All designs tab to see them all. Tap Review & upload all to continue.
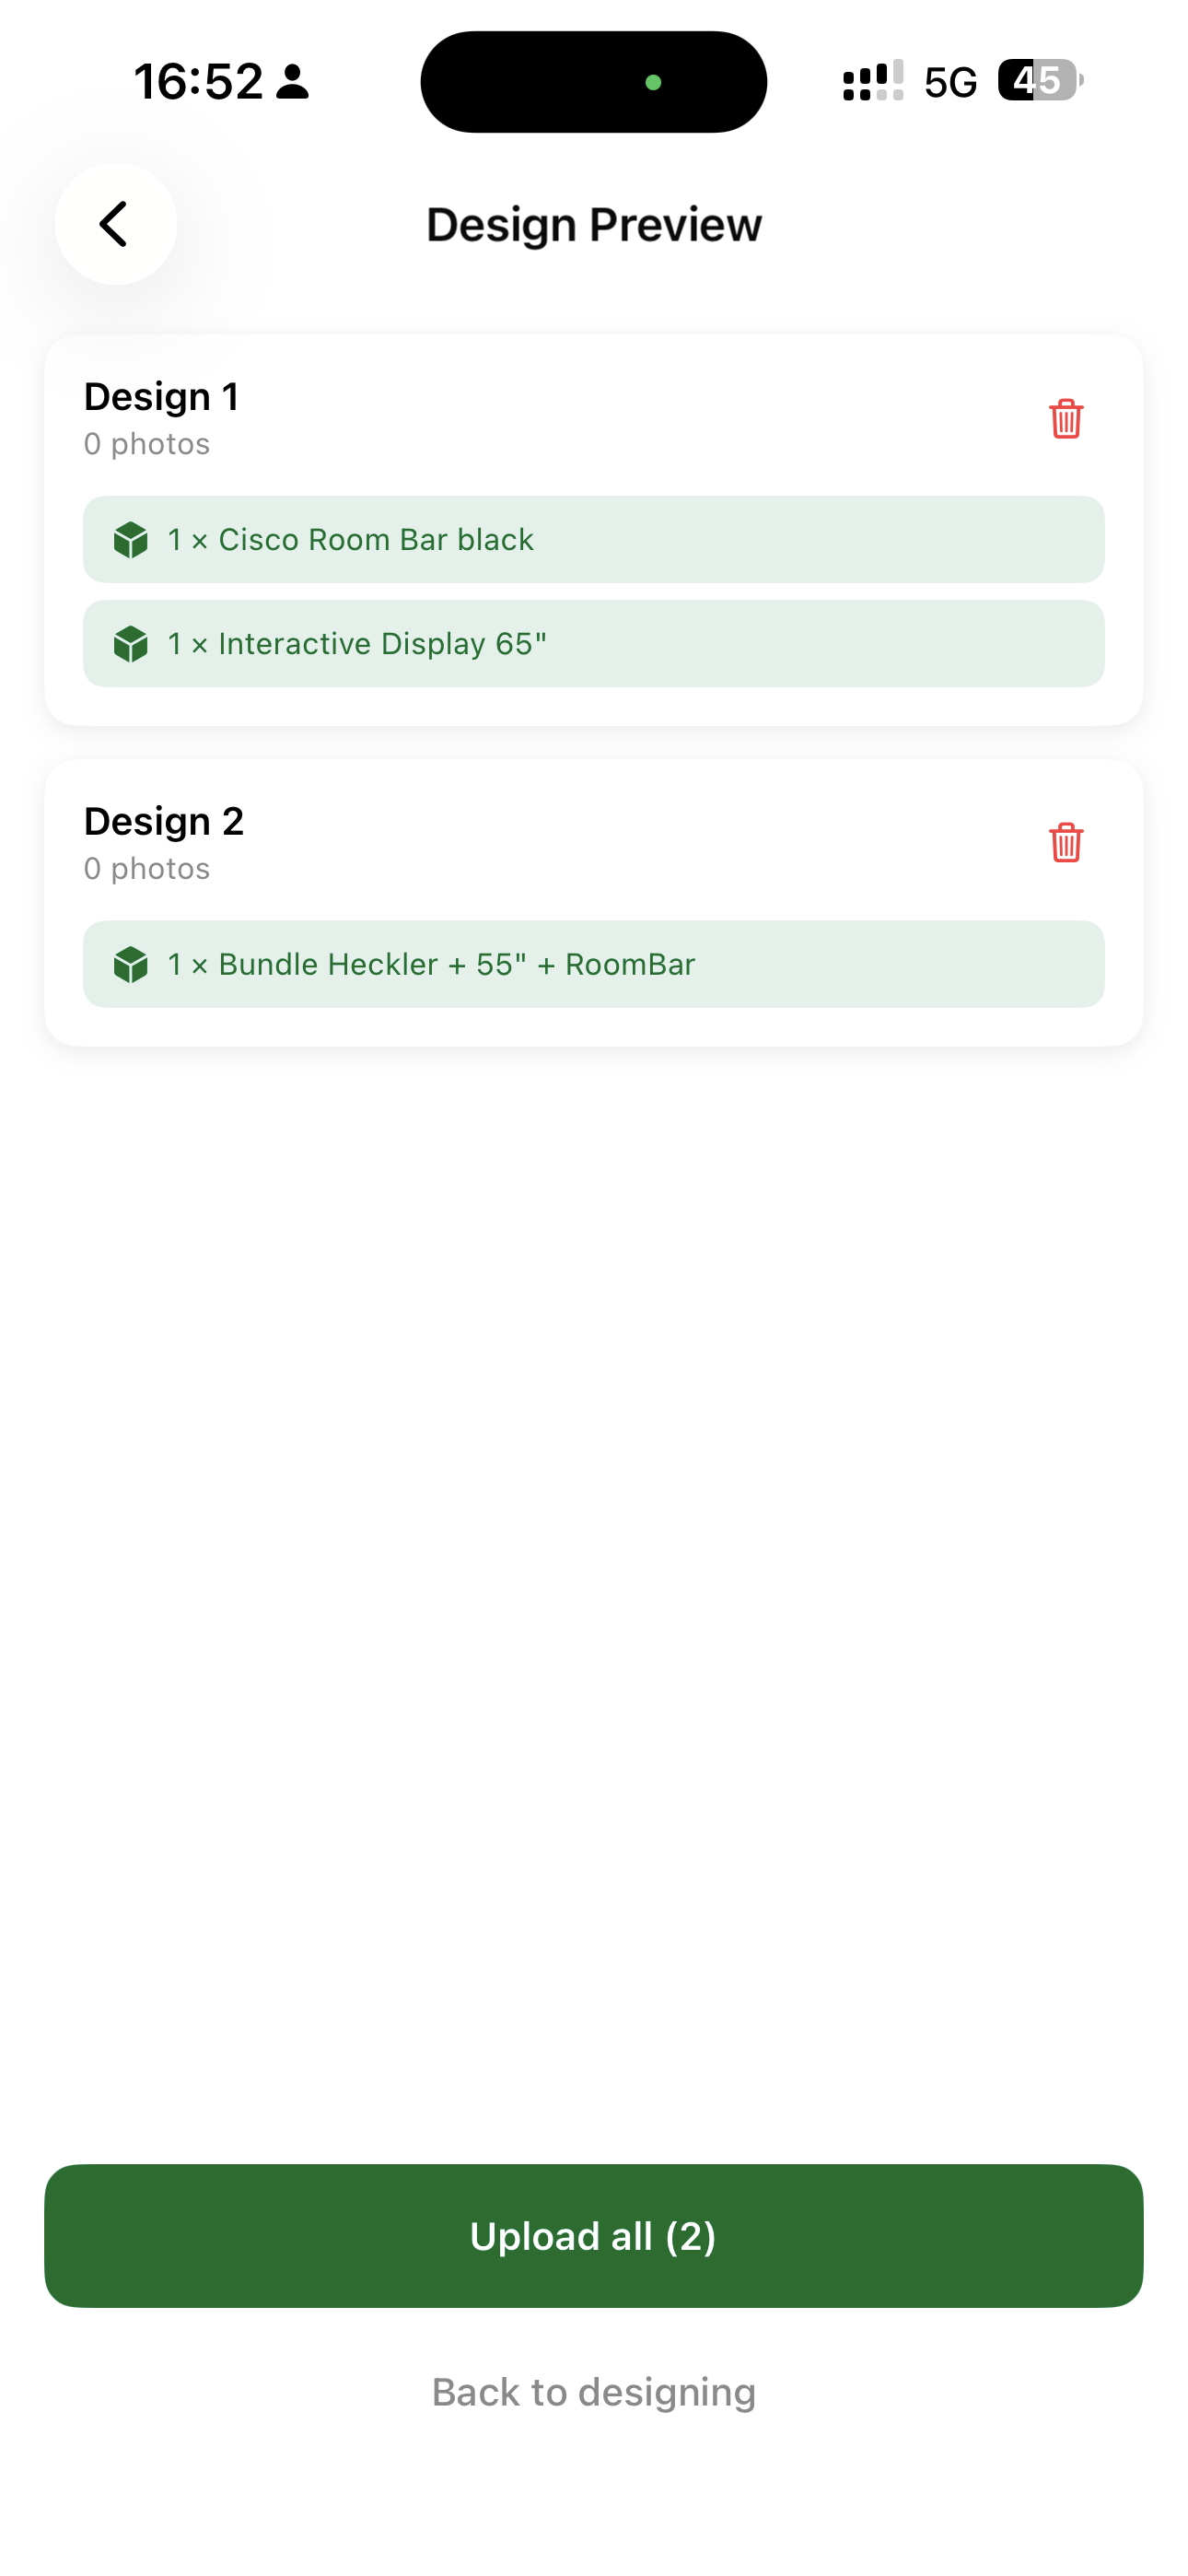
The Design Preview lists every design and the items it contains. Remove a whole design with the trash icon, then tap Upload all — or go Back to designing.
Tapping the ✕ button doesn't discard straight away — it asks whether to Save and leave (keep the design for later), Discard it, or Go back and keep designing.
Once uploaded, the AR Design appears in the room's Designs section alongside any designs created in BMR Studio. From there you can:
- Open it in BMR Studio to add more equipment, adjust placement, or refine the layout
- Compare it with other design versions for the same room
- Move it through approval and mark it as the Active Design when installed
Tips
- Scan first, design second — without a scan, AR-placed items cannot be anchored to the room model.
- Good lighting helps the app match the room faster during verification.
- Walk around slowly during verification so the app can recognise surfaces from the original scan.
- Place items one at a time — position each piece before adding the next for the most accurate result.
- Bring screens to life — use the wand to set screen content and preview how the room looks in use.
- AR Design is best for initial placement and visualisation. For detailed configuration, cabling, and coverage analysis, continue in BMR Studio.