BMR Studio
BMR Studio is the single 3D environment used for all room design work in BMR. It is designed to be used on the web, on a computer — that is where detailed design work belongs. It also runs inside BMR Mobile on iPad and iPhone for reviewing designs on-site. BMR Studio is where you model rooms, place equipment, manage design versions, and mark a design as Active.
BMR Studio is currently in Beta, but enabled for everyone. A full public release is coming soon.
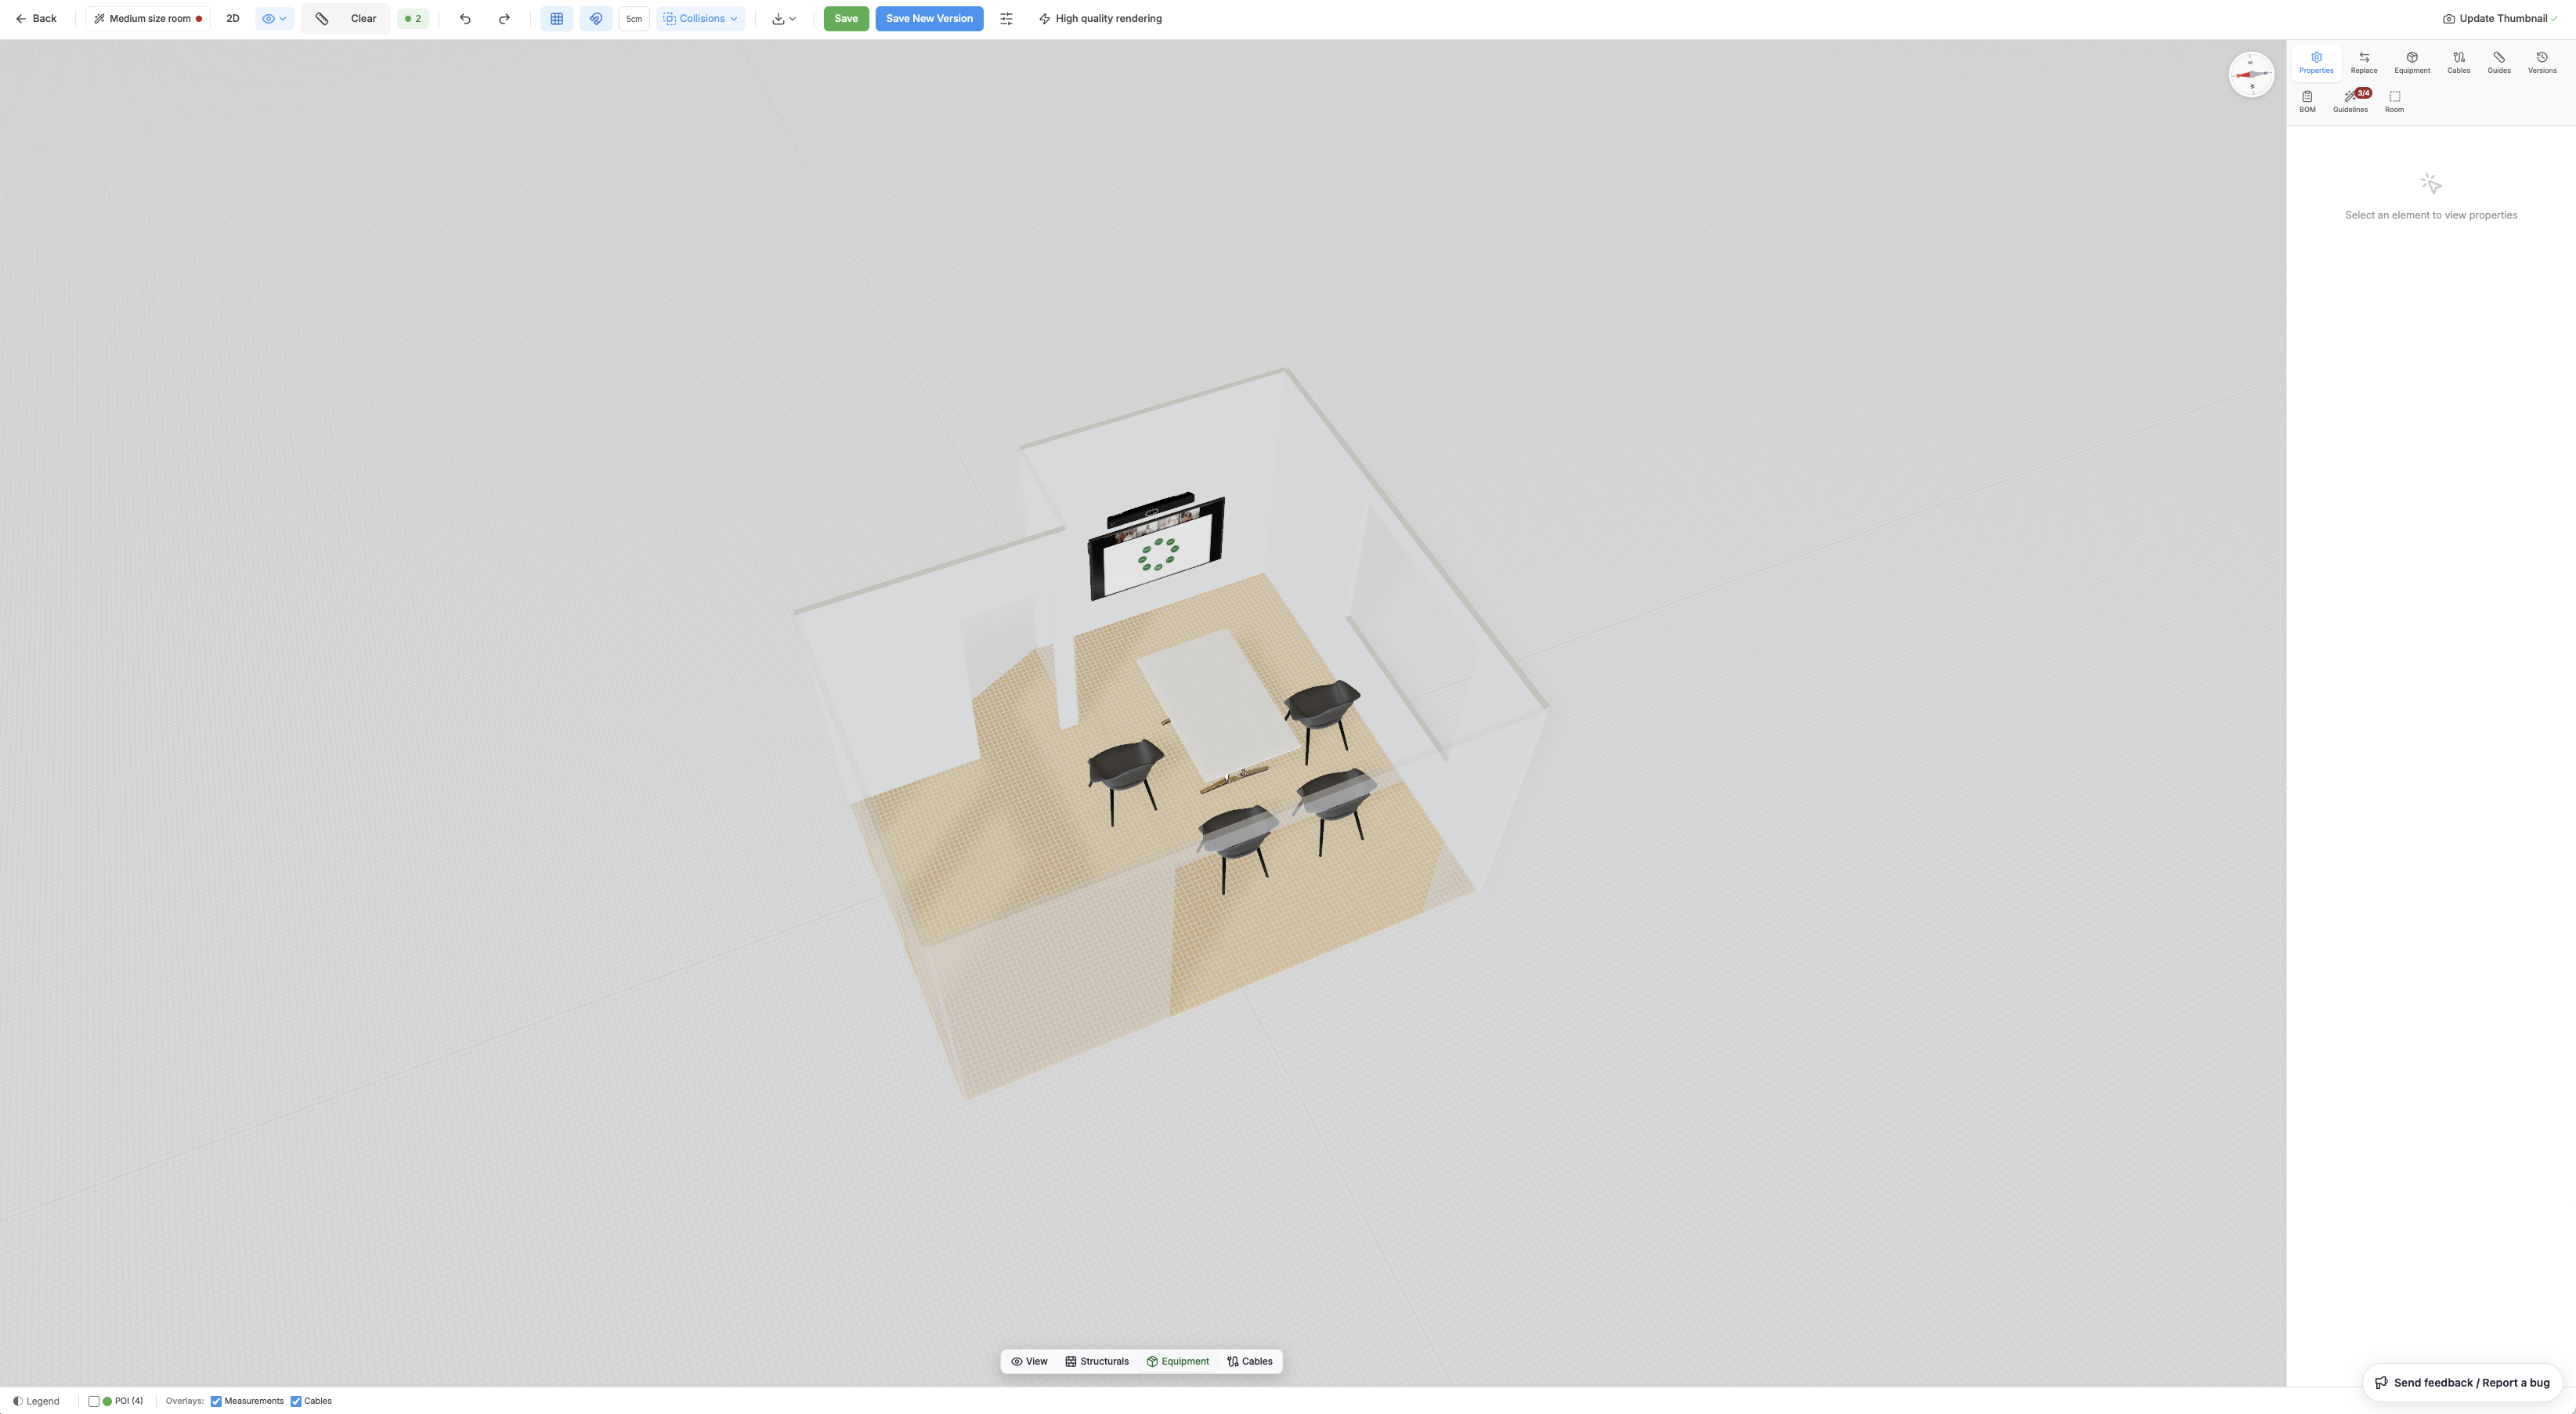
BMR Studio on iPad and iPhone
BMR Studio also runs inside BMR Mobile on iPad and iPhone, so you can open and review the same 3D design environment while on-site. Each device fits a different use case:
- Web (on a computer) — the primary design environment, with the screen space and precise pointer that detailed design needs. Recommended for all real design work.
- iPad — it runs, but is not recommended for detailed design: the touch interface and smaller screen make precise editing harder. Best for reviewing a design on-site.
- iPhone — preview only. The screen is too small for editing and the interface is not optimised for it. Use the iPhone to walk a room while reviewing a design, then switch to a computer for any actual changes.
While viewing a design in BMR Mobile you can switch between 2D and 3D views and toggle Measurements, Cables, POIs, and the Legend overlays — the same controls as on the Web.
Modes
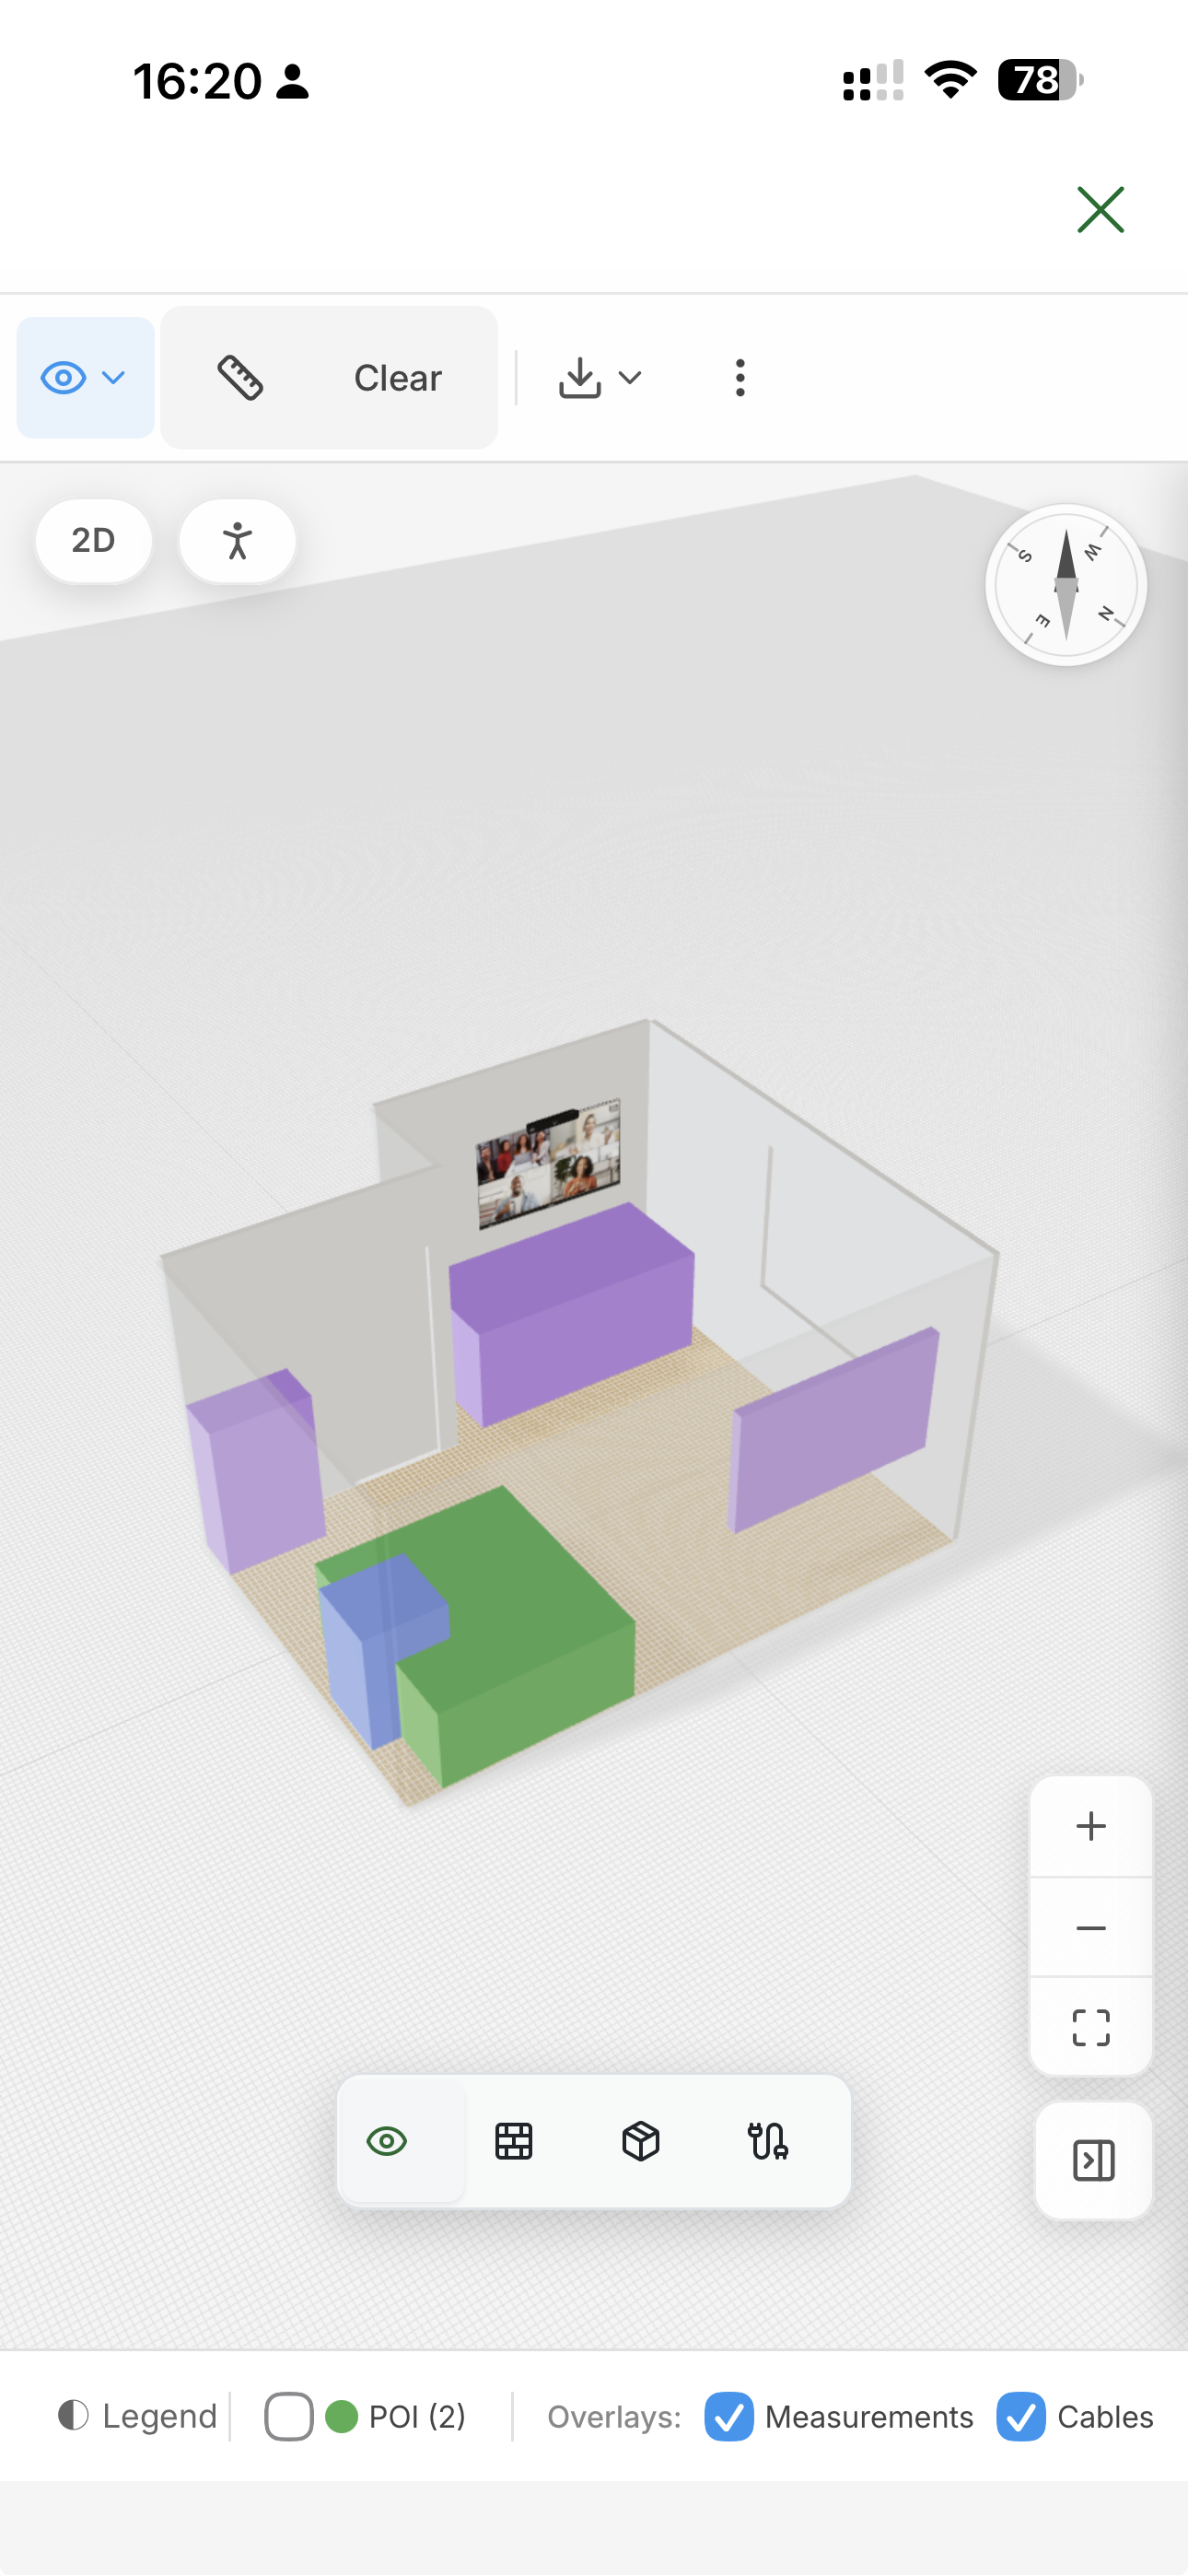
BMR Studio uses dedicated modes so you can focus on one thing at a time:
- View — explore the room and review designs. Navigate the 3D model, inspect placed equipment, and get an overview of the current design state.
- Structurals — adjust structural components such as walls, windows, doors, and other building elements. Windows and doors are shown by default when you enter the mode, room resizing is smoother, and surface materials and colours from the scan are applied to the generated design — so the model more closely resembles the real room.
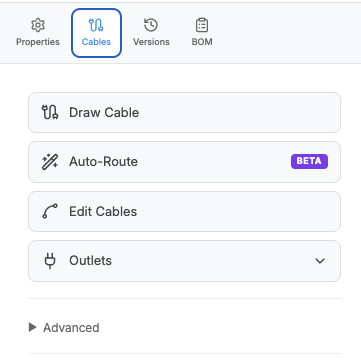
- Equipment — add and remove equipment and furniture in the design. Browse the full catalog, place items, configure quantities, and position everything in the room. Recommended items from a matching Default Room Configuration can be placed straight from the Guidelines panel.
- Cables — plan and document cable routing between devices. Outlets are shown in the Cable Guide for a complete picture of the room's connection points, and two BETA tools speed up routing: Auto-Route bundles cables that share a path, branching off only at the final drop, and Tidy Bundles cleans up existing routing.
More modes will be added over time, and existing modes will continue to be refined.
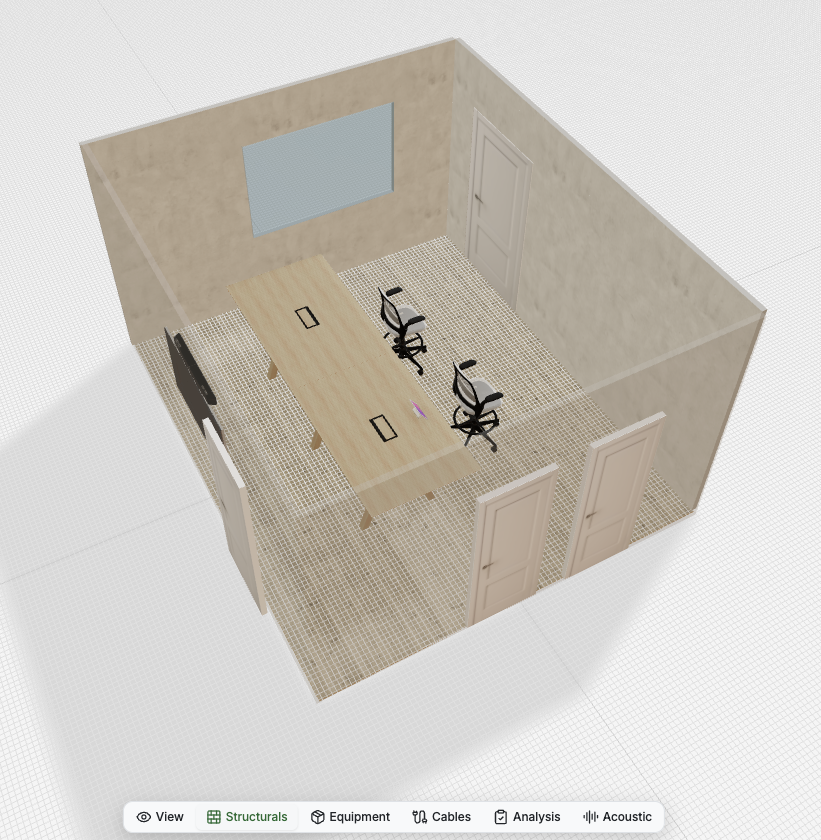
Auto-Route and Tidy Bundles are labelled BETA in the Cables mode to indicate their current working state — they are safe to use, and the results are easy to review and adjust by hand.
What You Can Do
- Place and configure equipment from the catalog — cameras, screens, speakers, codecs, furniture, and more. Equipment stays selected while you rotate it, and newly placed devices are auto-selected with their Advanced properties shown by default.
- Adjust room structure — walls, windows, doors, and other building elements, with surface materials applied from the scan
- Plan cable routing between devices, including outlets and auto-routing
- Work with automatic design versions for the same room — every save creates a version you can review, rename, activate, or delete
- Generate an equipment list automatically from placed items
- Move a design through approval and mark it as Active when installed
- Follow Default Room Configuration guidelines — when a room matches a defined size range, the Guidelines panel shows fulfilled and missing categories with a one-click Place in room action
How to Open BMR Studio
On the Web
- Go to app.bettermeetingrooms.com
- Open the room
- Navigate to Design
- Click Open Studio — the 3D editor loads with your room scan as the base
On iPhone or iPad
- Open the room in BMR Mobile
- Go to the Designs tab
- Open an existing design or create a new one — BMR Studio loads inside the app
Design Versions
Each room can have multiple design versions in BMR Studio, and your work is never overwritten. This lets you:
- Explore different equipment configurations or layout options side by side
- Preserve historical versions as the room evolves
- Track which version was actually deployed
Automatic versioning
Versions are created automatically whenever you save or change mode — you do not have to remember to snapshot your work. Every previous version can be reviewed, renamed, activated, or deleted at any time from the Versions tab.
- Save as New Design — in the top menu, for when you want a separate design rather than another version of the current one.
- Designs are shown as a list in the room design view, making it easier to identify and open the right one.
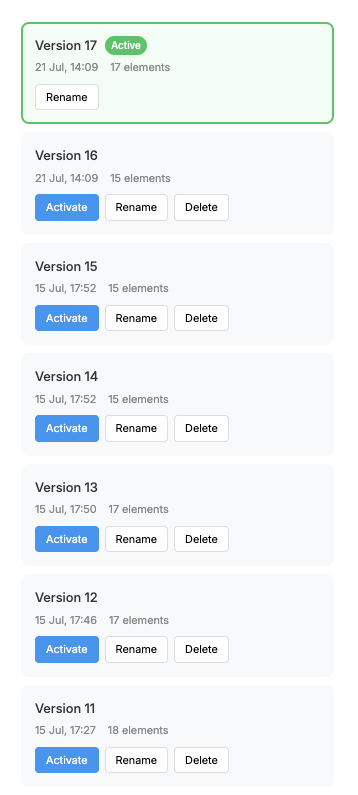
One design version can be designated as the Active Design — the authoritative record of the room as it currently exists. All other versions represent proposed or historical states.
Reviewing and Approving a Design
Whether created in BMR Studio, via AR Design, or delivered by a BMR designer, the review process is the same:
- Open the room's Design section to view available versions
- Inspect the 3D layout, coverage visuals, and equipment list
- Add comments or request adjustments
- Approve the design when ready
- Once physically installed, mark it as Active — it becomes the Active Design and the room's live record
Tips
The richer your Discovery data — scan quality, marker coverage, acoustic measurements — the more accurately BMR Studio reflects the real room.
- Start with a scan — BMR Studio uses the 3D scan as the foundation. A high-quality scan means more accurate placement.
- Use modes — switch between modes rather than trying to do everything at once. Each mode surfaces the tools relevant to that task.
- Use versions freely — every save is captured automatically, so you can explore options without fear of losing earlier work. Use Save as New Design when you want a separate design rather than another version.
- Check Default Room Configurations — if your organisation has defined recommended setups, they appear automatically in the sidebar when the room size matches.