Account Setup
There are exactly two ways to start using BETTERMEETINGROOMS. Which one is yours comes down to a single question:
Does your company already use BETTERMEETINGROOMS?
- A colleague invites you — you build nothing
- You join your company's existing workspace, alongside your colleagues' rooms and data
- Your invitation carries your role: Org Admin, Location Manager, or Room Manager
- You start from nothing — no invitation needed
- Sign up yourself and build a new organisation: a short wizard creates your Organisation → Location → Room
- You are bringing BMR to your team
If anyone at your company already uses BETTERMEETINGROOMS, ask for an invitation. Starting your own creates a separate, empty workspace — you won't see your colleagues' rooms and data.
Option 1 — Join your organisation (by invitation)
Your company already uses BMR — you don't create anything. An admin invites you into the existing organisation with a role that scopes what you can see and manage.
| Role | Scope | What you can do |
|---|---|---|
| Org Admin | The whole organisation | Manage every location and room, and invite other users. |
| Location Manager | One location | Manage the rooms and data inside that location. |
| Room Manager | One room | Work on that single room — scans, markers, measurements, and designs. |
Invitations are sent by your organisation's admin from the Users tab — see Inviting Users. If your company isn't set up in BMR yet, email support@bettermeetingrooms.com.
Step 1 — Accept your invitation
Your invitation email contains a link to download the app and a link to set your password. Open the sign-up link and choose a password.
Sign up with the exact email the invitation was sent to — that's the address linked to your account, your organisation, and the rooms your colleagues see. A different address creates a separate account with no access to your team's data.
Step 2 — Log in
Once your password is set, log in via BMR Mobile or the Web — both use the same Welcome screen.
Via BMR Mobile — install BMR Mobile from the Apple App Store and tap Login:
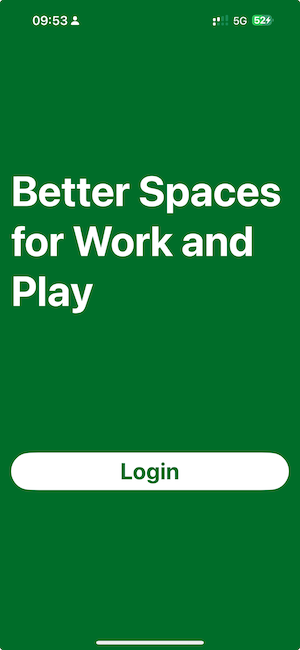
Tap Login to begin
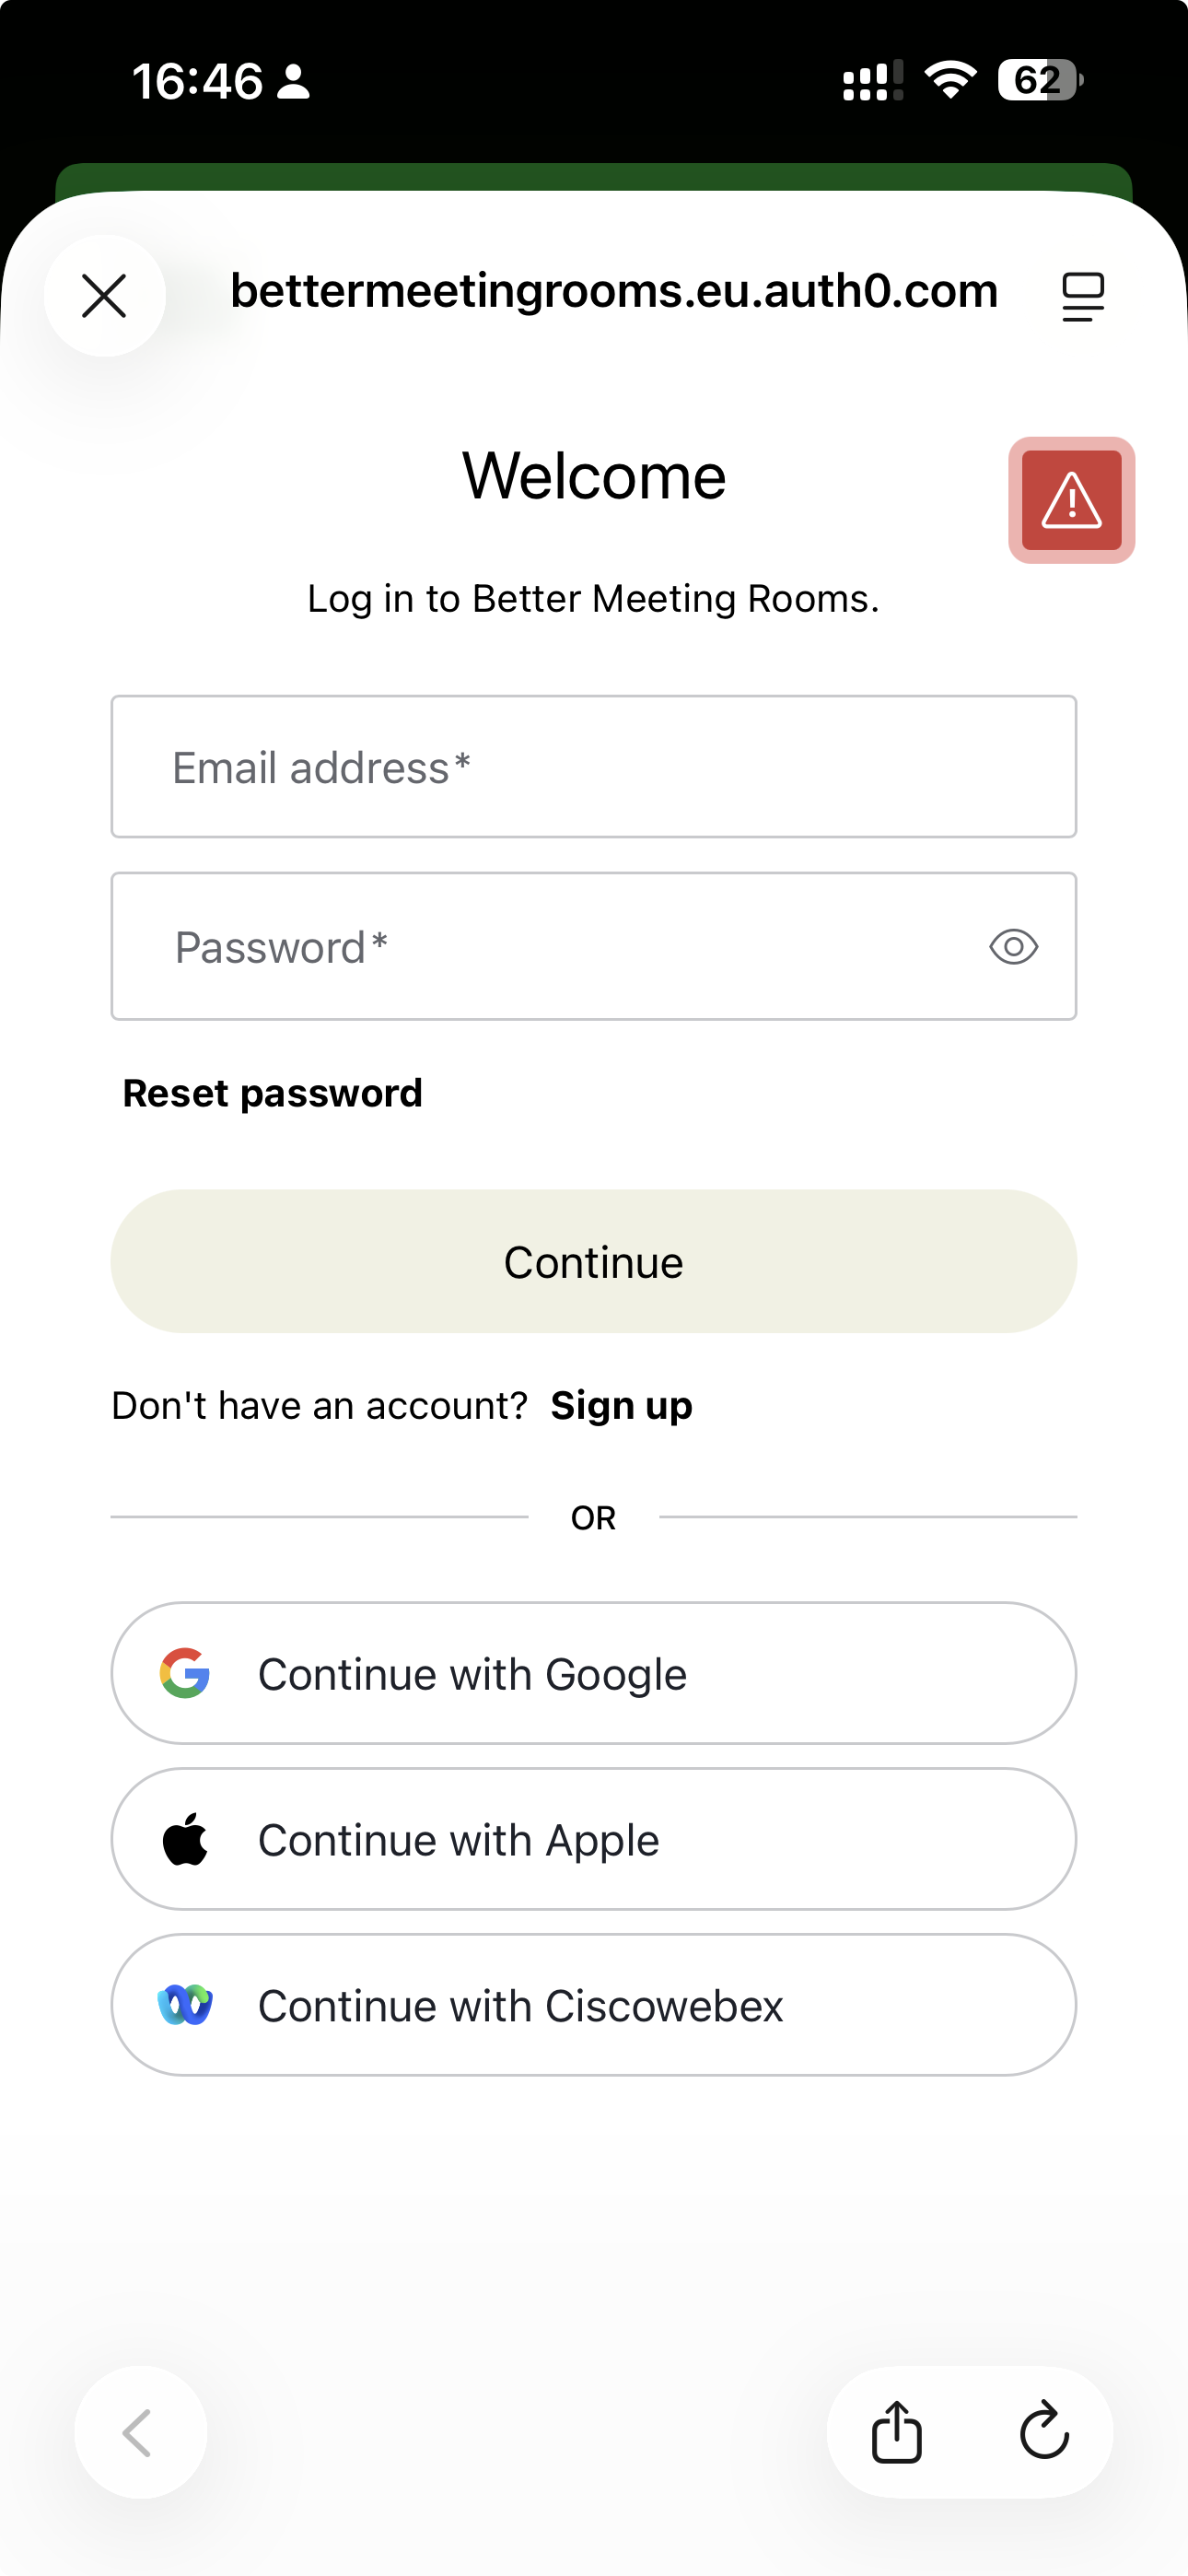
Enter your email and password on the Welcome screen
Done — you are now logged in and ready to go
Via the Web — go to app.bettermeetingrooms.com, enter your email and password on the Welcome screen, and you're in. The web platform gives you room management, acoustic comparisons, and BMR Studio.
Option 2 — Start your own (from nothing)
Nobody at your company uses BMR yet — you build the workspace yourself, from nothing.
Step 1 — Sign up
Sign up either way — both lead to the same place:
- Web — go to app.bettermeetingrooms.com
- App — install BMR Mobile from the Apple App Store and open it
Both show the same Welcome screen. Tap Sign up (below the Continue button), then enter the email address and password you want to use on the next screen.
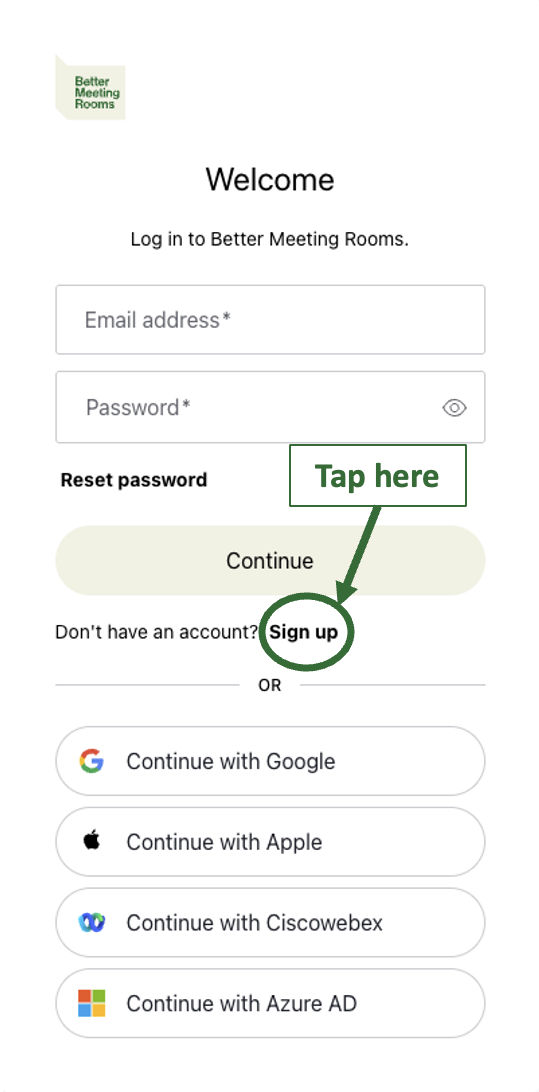
Step 2 — Confirm your email
After signing up you'll receive a confirmation email at the address you registered with. Confirm it — you can't continue until you do.
Check your spam folder, and make sure you signed up with the address you meant to. The confirmation goes to exactly the address you registered.
Step 3 — Sign in and create your workspace
Sign in after confirming. A welcome screen explains that you're not part of any organisation yet, with a Get started button that opens a short three-step wizard.
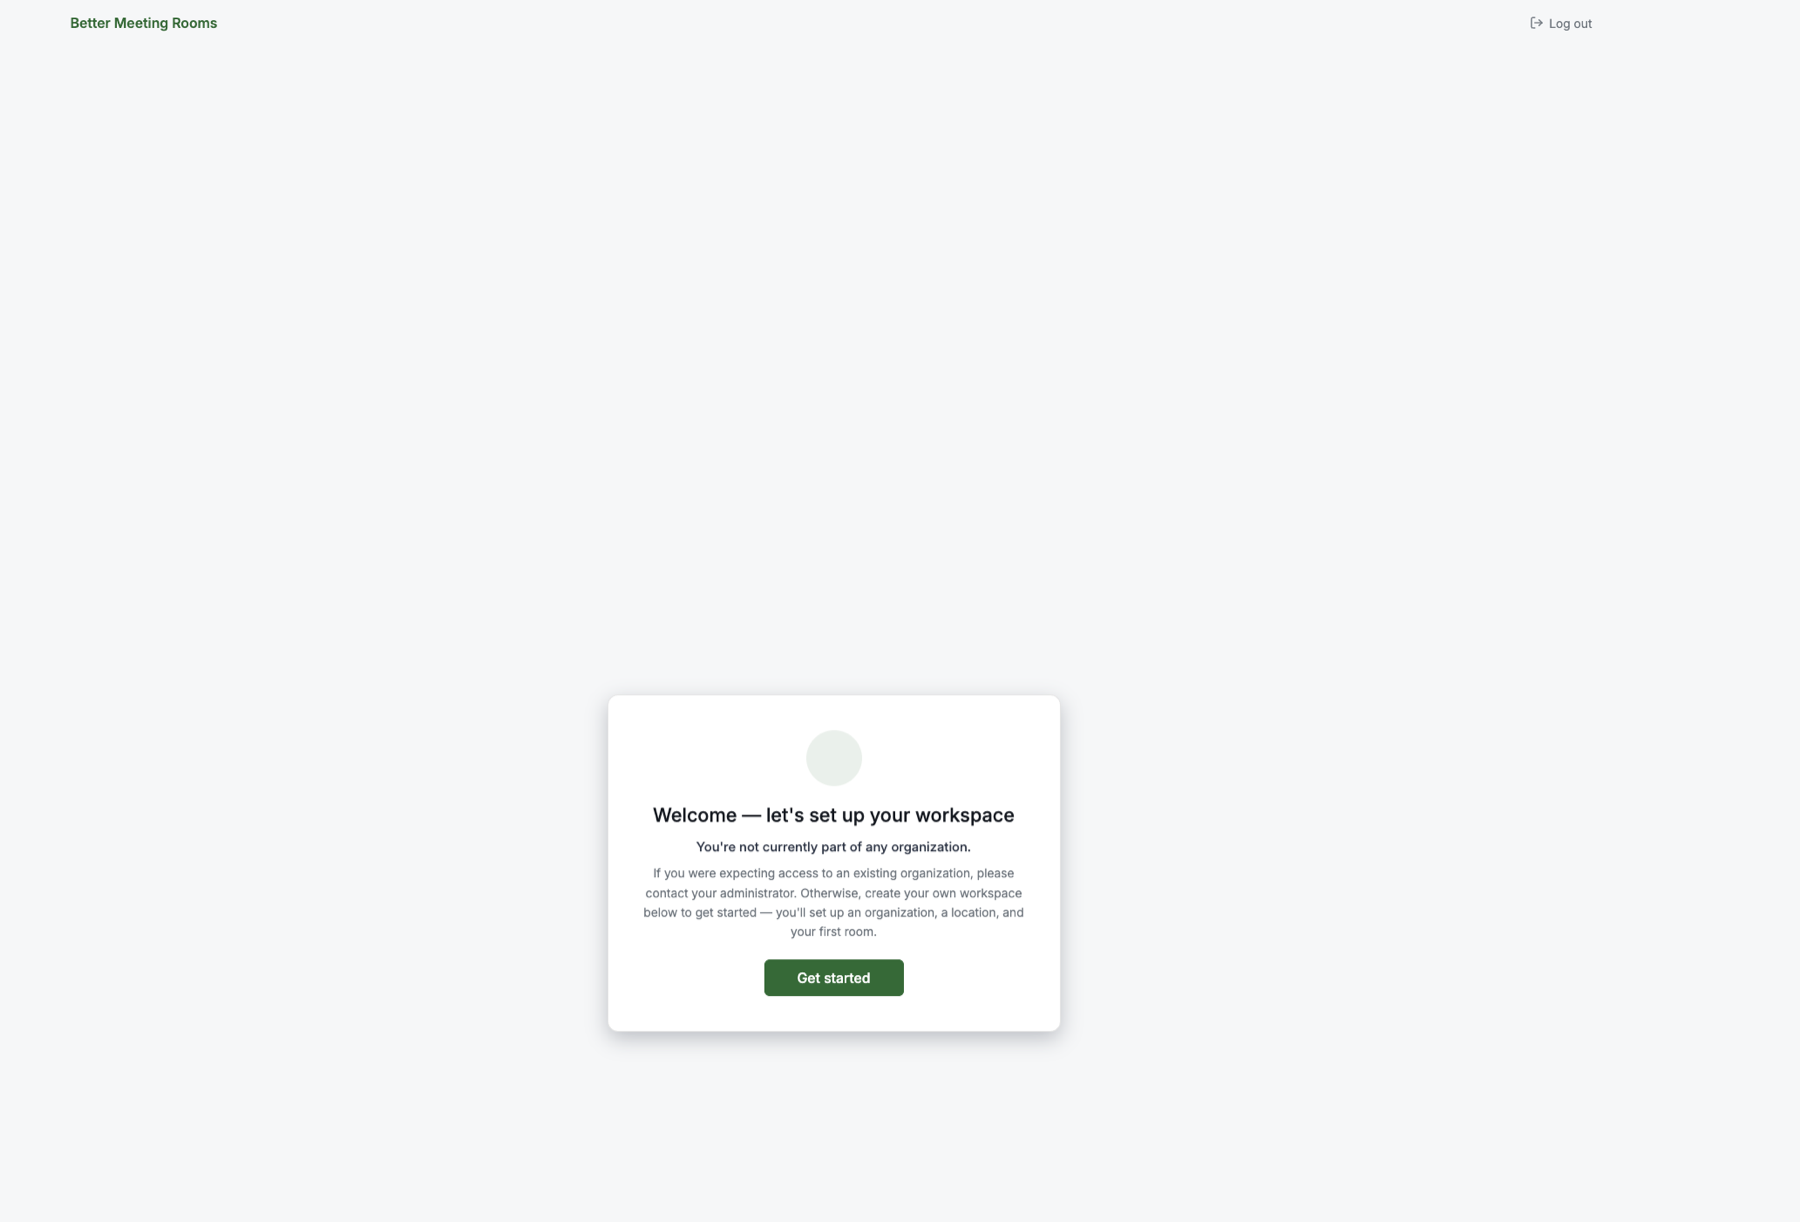
The wizard walks you through the three levels of the data hierarchy — Organisation → Location → Room:
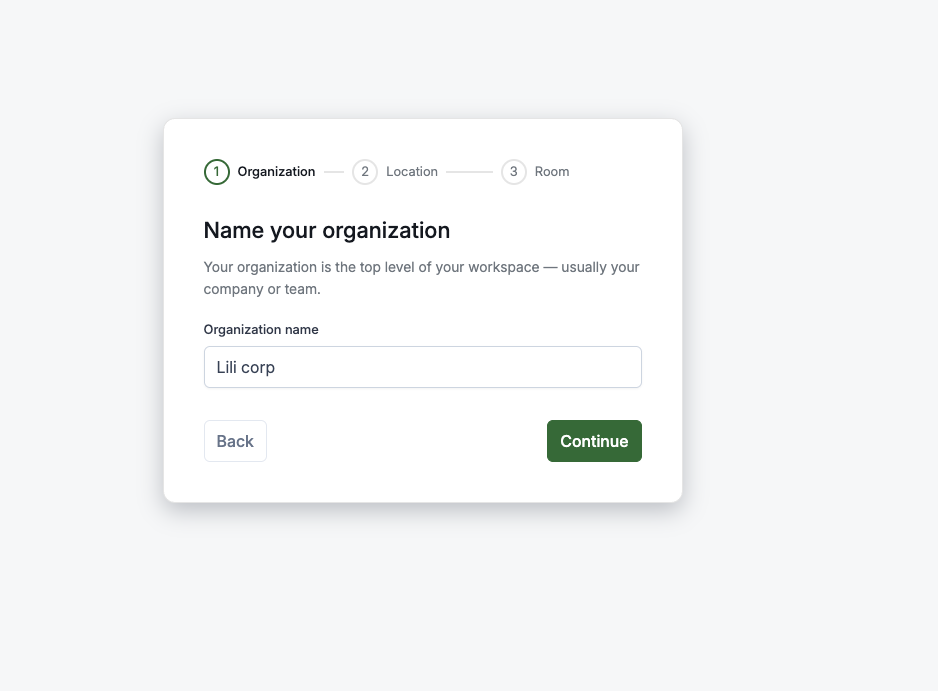
Step 1 — Name your organisation. This is the top level everything else lives under.
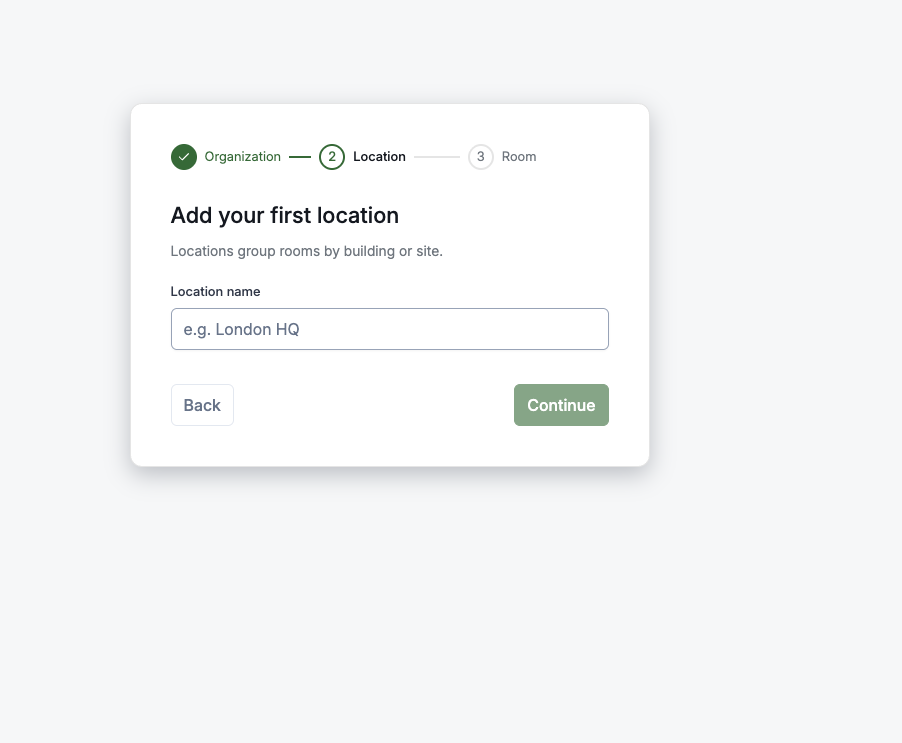
Step 2 — Add your first location, such as an office or building.
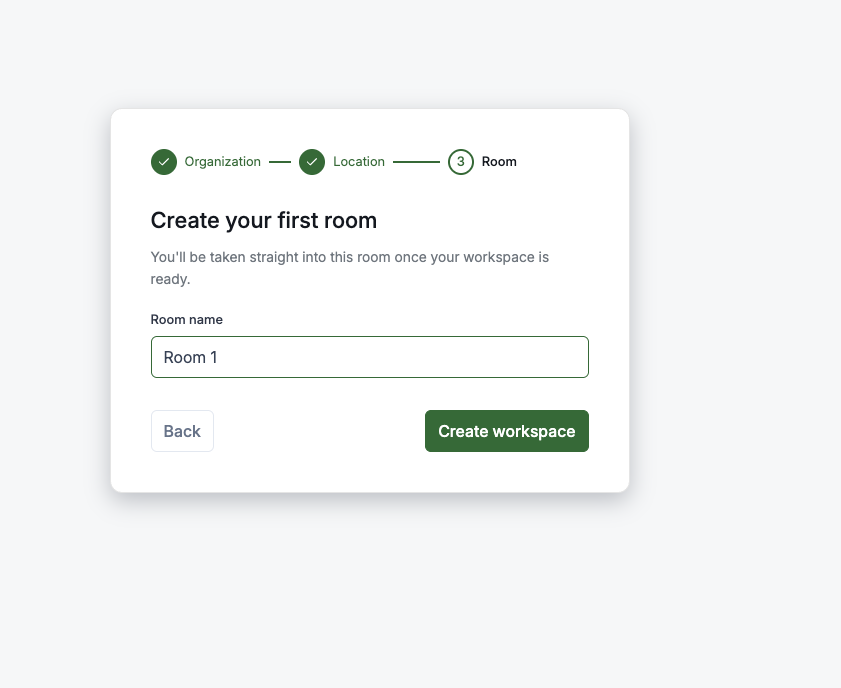
Step 3 — Create your first room, then finish to enter your new workspace.
You land directly in your new workspace with your first room ready to scan. The same flow is available on iPhone and iPad — mobile onboarding mirrors the Web.
After you're in
You can now access the app or the web platform and start setting up rooms — scan your first room to begin.