Markers
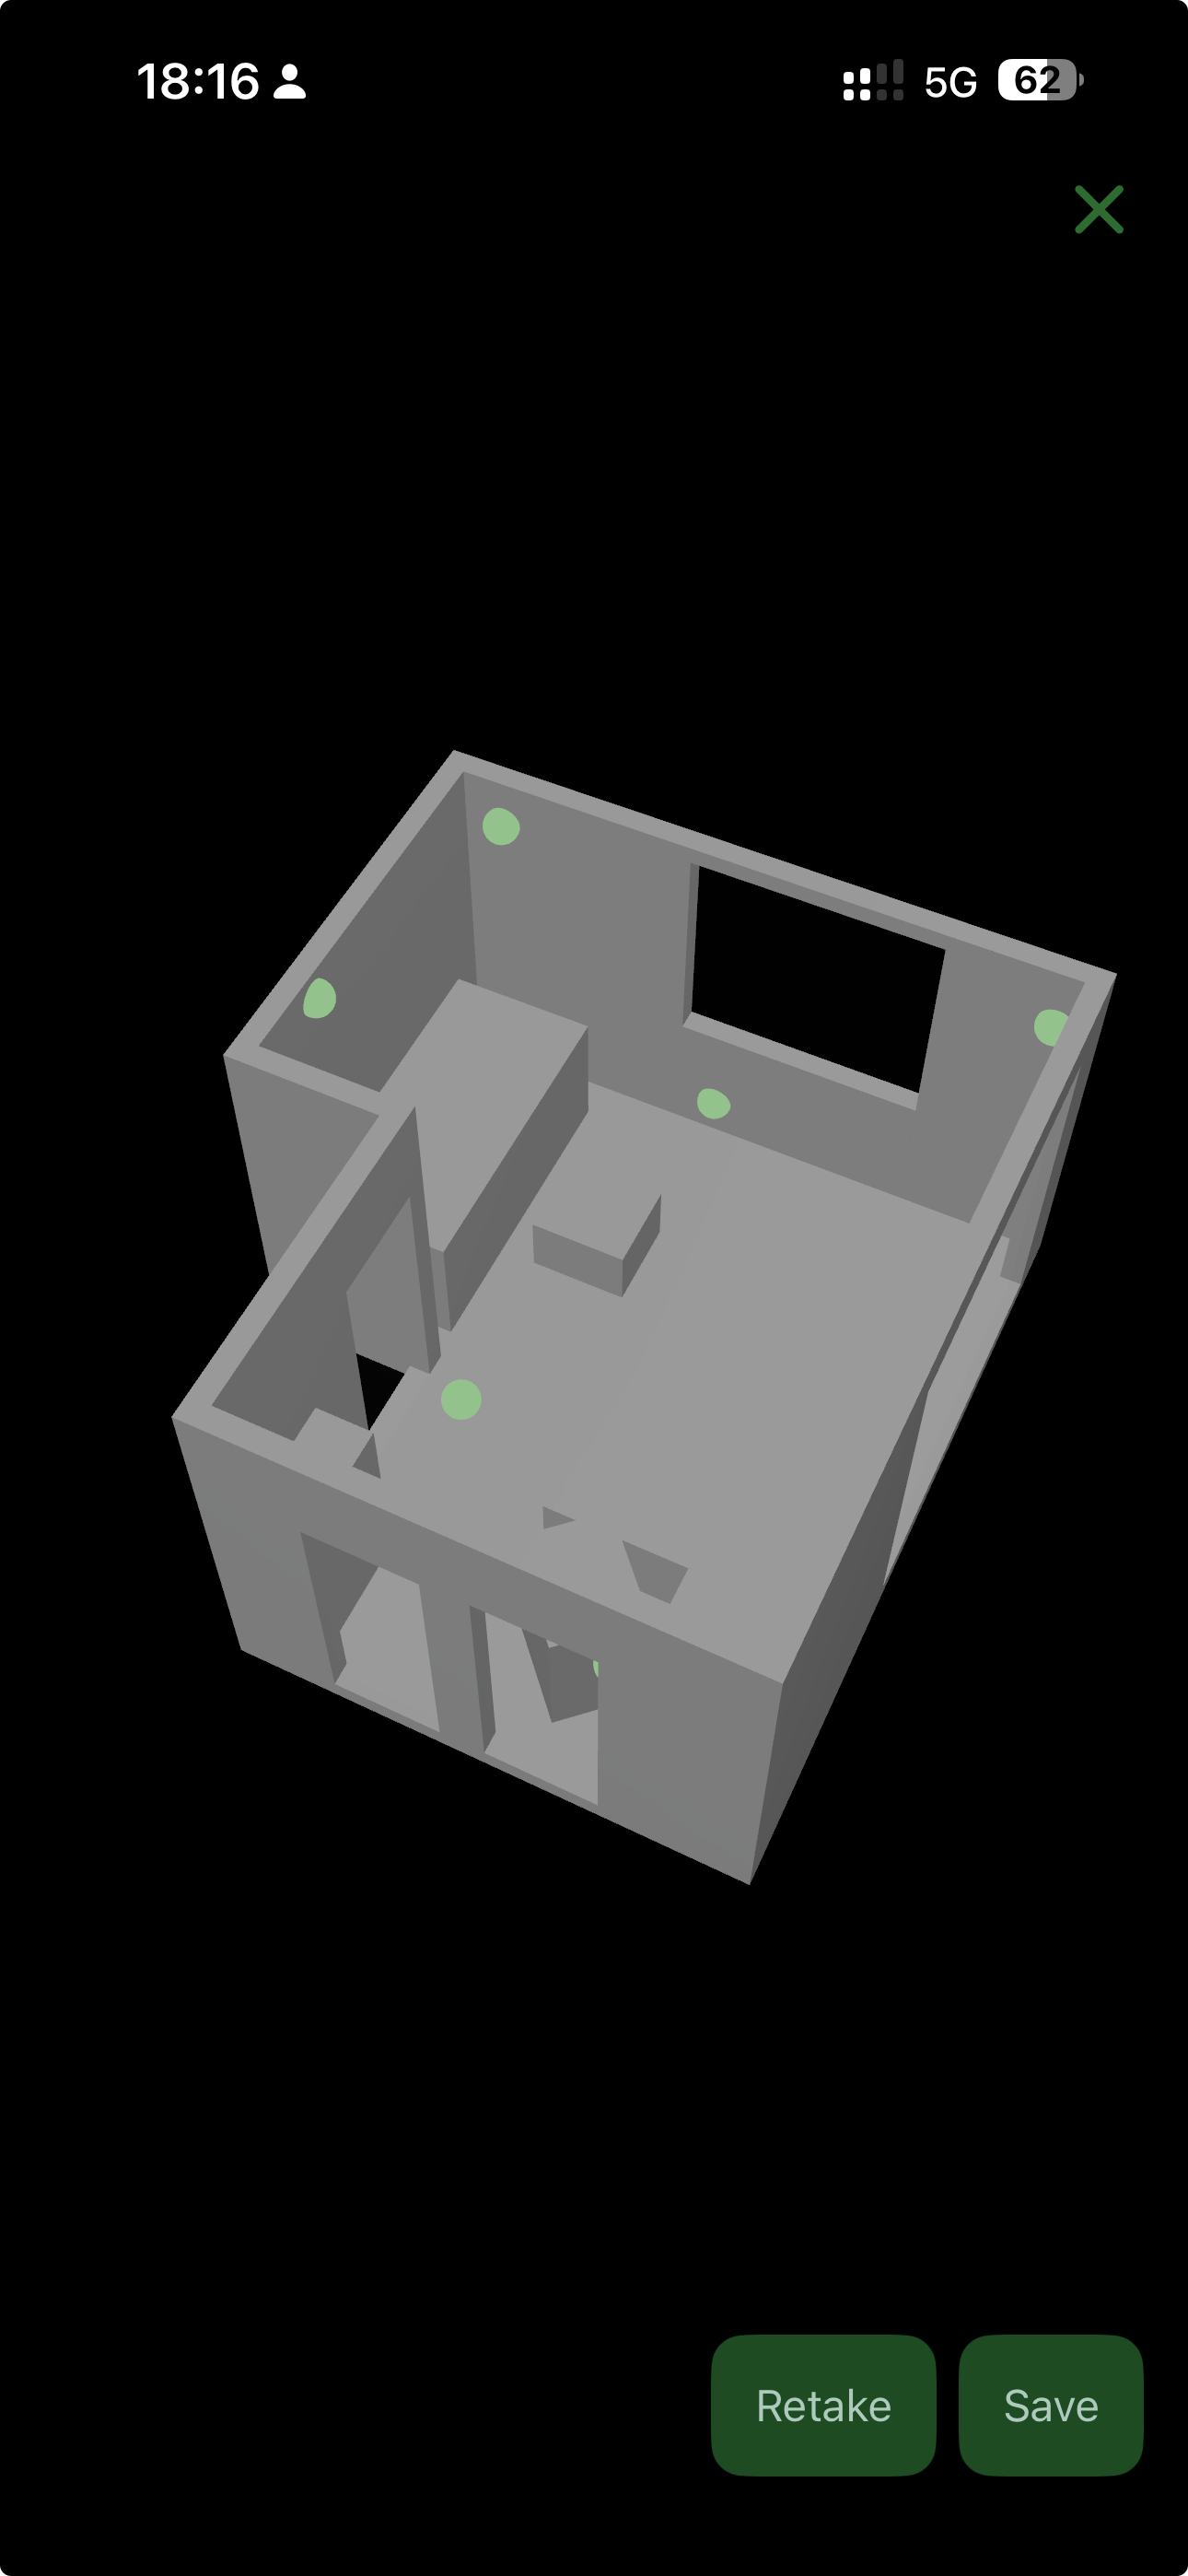
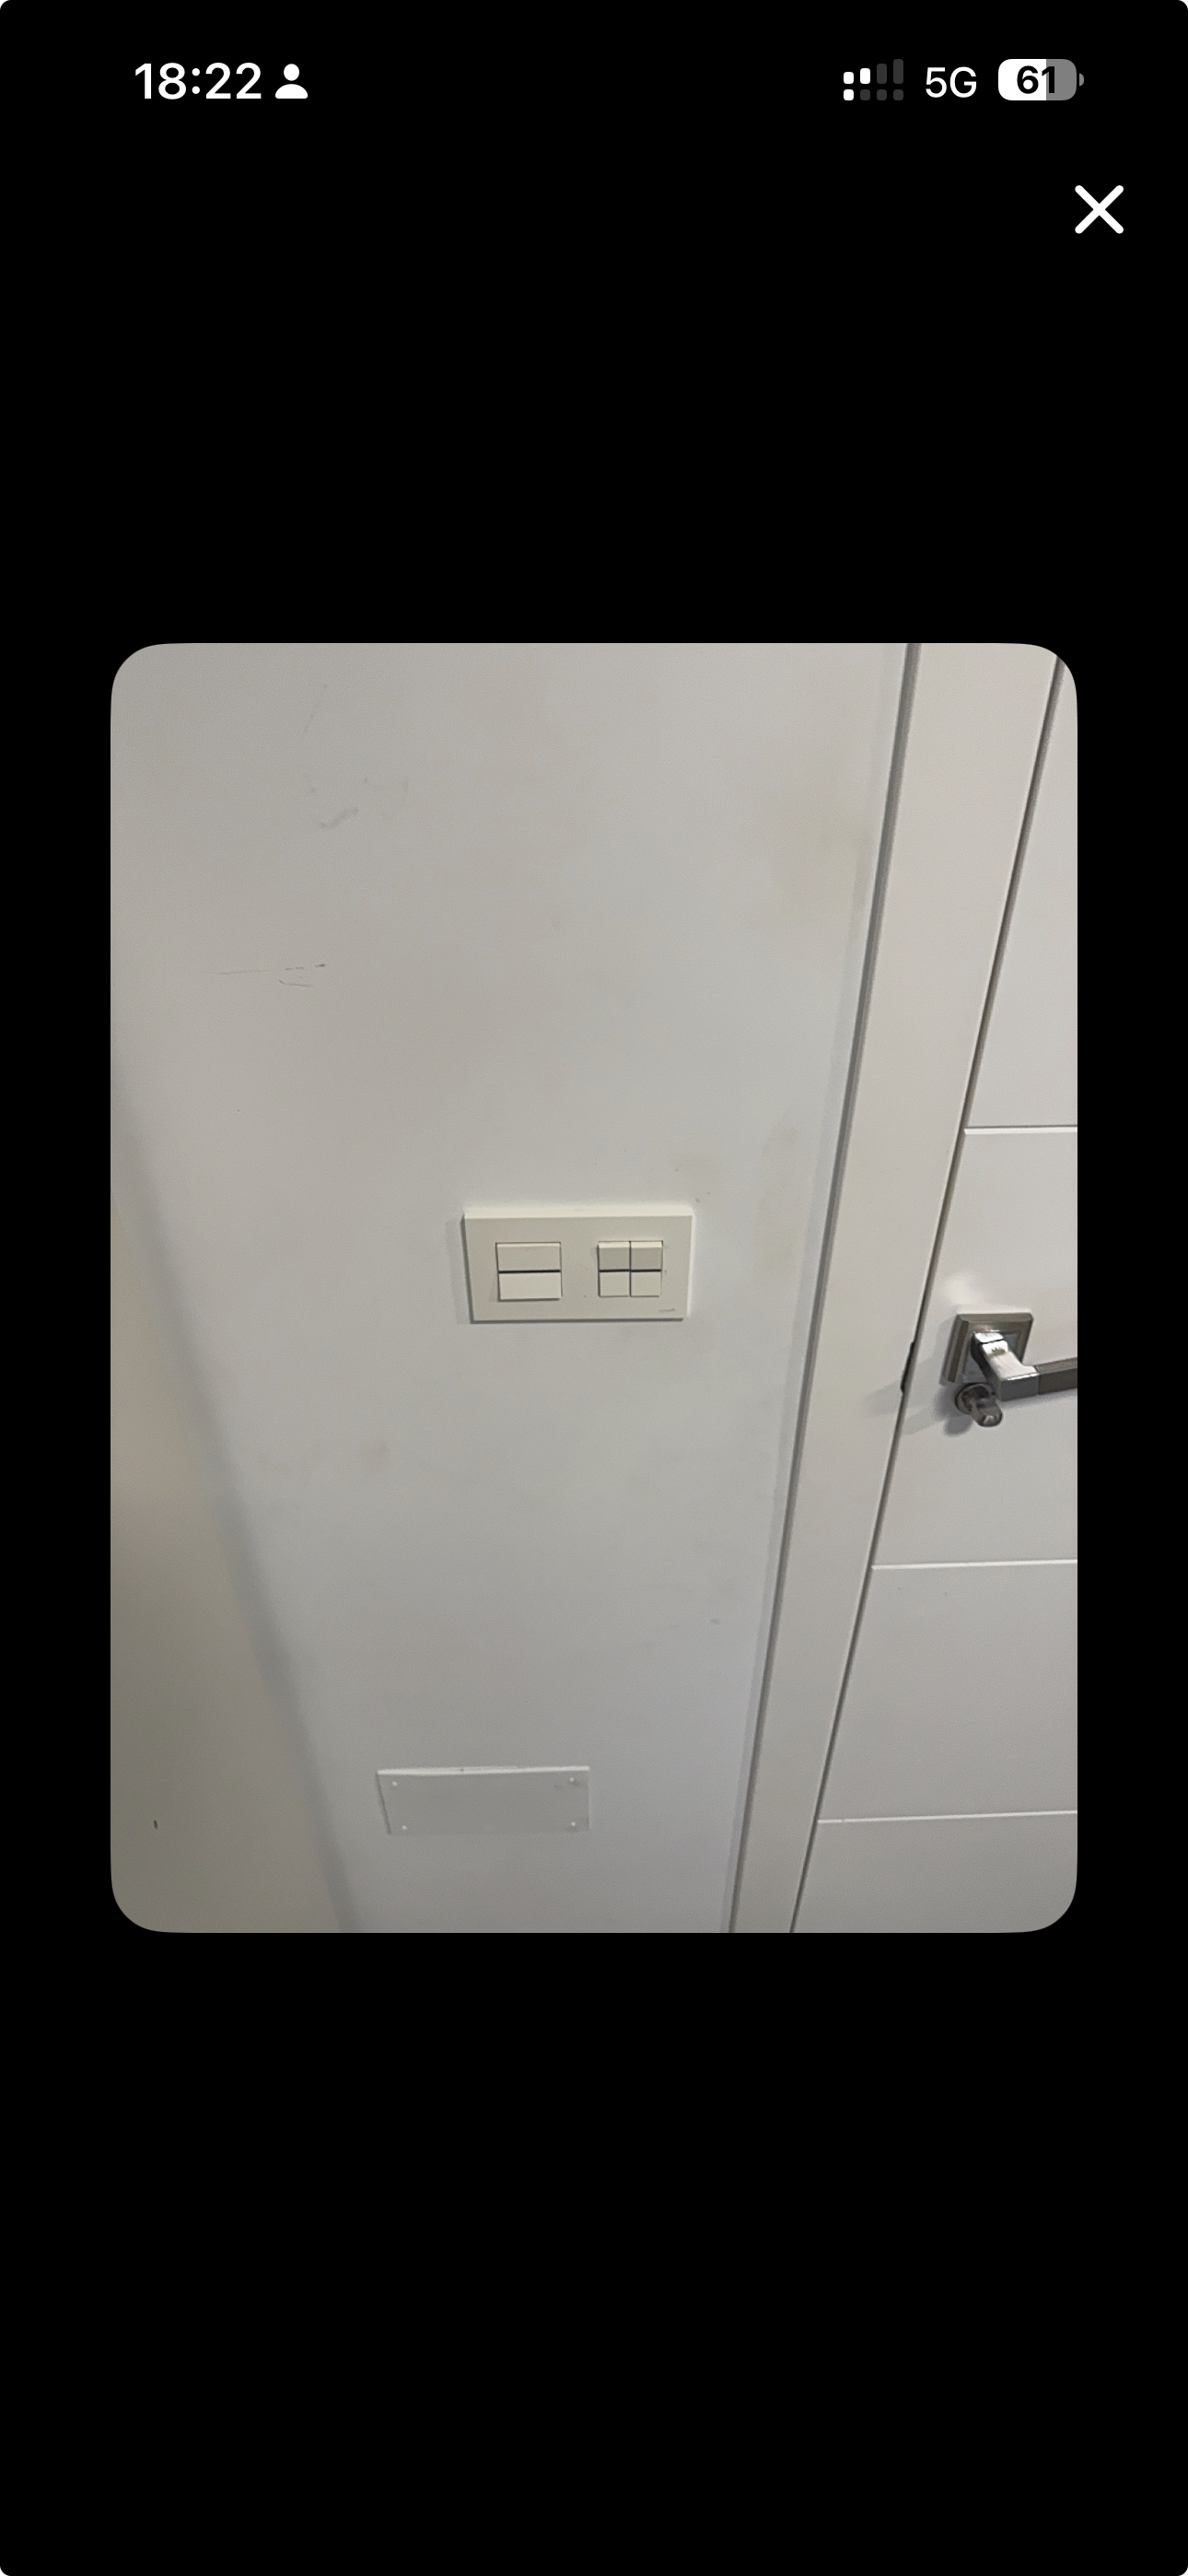
Markers are photos with a short note, placed against the 3D scan of a room. They record the things the mesh alone cannot tell you — where the power is, which display is already mounted, what cabling is in place, where the network points are, and any constraint that will matter later in Design.
A scan captures the shape of the room. Markers capture the context.
Why markers matter
Markers are one of the most important parts of the Discovery data set. Without them, designers and installers are working from geometry alone and have to guess at everything else.
- They unblock Design. A designer looking at the scan in BMR Studio needs to know where the outlet is before they can place a display, and where the existing camera is before they can suggest a replacement. Markers answer those questions without another site visit.
- They reduce revisions. Missing markers are the single most common reason a design has to be reworked.
- They preserve on-site knowledge. The person doing the scan sees things a designer never will — a loose cable tray, an obstructed wall, a light switch in an awkward place.
- They speed up installation. Installers can see, ahead of time, exactly where power, network, and existing equipment are.
What to mark
Aim for coverage of the room's constraints and existing equipment, not decorative detail:
| Category | Examples |
|---|---|
| Power | Wall outlets, floor boxes, isolators, spare capacity |
| Network | Data points, patch panels, wireless access points |
| Existing AV | Displays, cameras, microphones, speakers, control panels |
| Cabling & routing | Cable trays, conduits, floor boxes, visible cable runs |
| Structural constraints | Glass walls, mirrors, pillars, low ceilings, HVAC vents |
| Room fixtures | Light switches, blinds/curtain controls, thermostats, door swings |
| Anything unusual | Anything that will surprise a designer who has only seen the scan |
If you find yourself wondering "should I mark this?" — the answer is almost always yes. An extra marker costs seconds; a missing marker can cost a site revisit.
While scanning, BMR Mobile shows a "What to capture" checklist — power outlets (including floor boxes and behind furniture), network points, existing AV, one overview shot per wall, and the ceiling — counting off each one as you capture it.
When to capture
Tap the camera button as you walk past each item. You are already looking at it, the device is already tracking, and the marker lands in the correct spatial position without any extra effort.
If it was awkward to mark during the walk, do it as soon as the scan finishes — before you leave the room. Everything is still fresh and the room is still accessible.
Adding markers after the site visit means a second trip — and by then details are forgotten and small items get missed. Treat this as a last resort.
BMR Mobile recommends at least 10 markers covering the whole room and its key areas. The capture flow shows where the marker controls sit in the app.
Markers and the room scan
A marker is only anchored in 3D if the app knows where you are standing. That depends on the room having a scan:
| Situation | What happens |
|---|---|
| Marking during a scan | The marker is placed directly in the scan's coordinates. Nothing extra to do. |
| Adding markers later, room already scanned | The app recognises the room first — point the camera around the space until it matches the saved scan, then capture as usual. |
| No scan yet | Limited mode: markers are saved as photos without coordinates. The app offers Scan & Add Markers so you get both in one pass. |
When you add markers to an already-scanned room, the app matches the live camera view against the room's saved map — a "% of room seen" indicator and directional hints show progress, and a "Room verified" confirmation means captured content will sync to this room's scan. If it cannot match the space, you can still continue without verification, and the markers are saved without coordinates.
Taking a good marker
- Frame the context, not just the item. A close-up of a socket without any surrounding wall makes it hard to place later — step back so the wall and nearby features are visible too.
- Hold steady. A blurry marker is much less useful than a sharp one. Pause for a moment before capture.
- Write a short, specific note. "Floor box — 2× power, 1× data" beats "power".
- One marker per item. Don't try to cram several things into a single marker — split them so each can be found and read on its own.
- Retake if you're not sure. It is much faster to retake on the spot than to come back later.
Where markers show up
Once uploaded, markers become part of the room's Room Data and appear:
- In the room's Markers list in BMR Mobile and on the web.
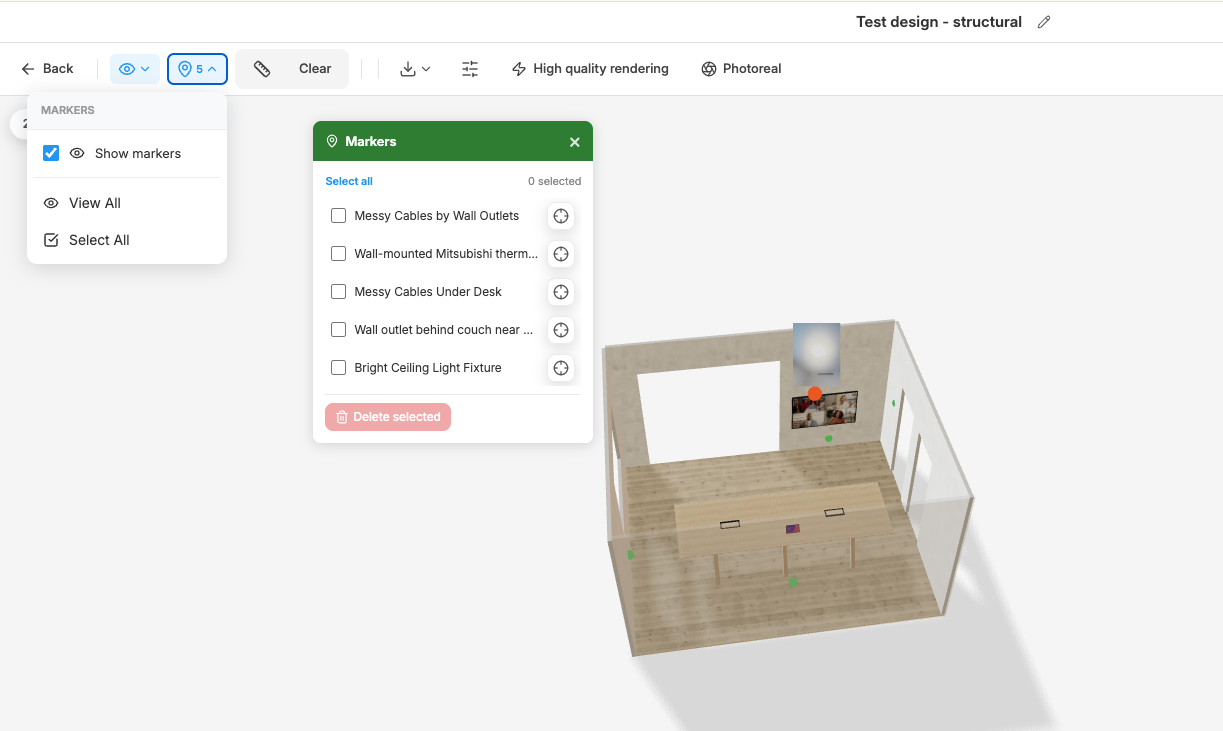
- Anchored to the 3D scan in BMR Studio, so designers can see each marker in its true position when placing equipment.
- In room-level Data Completeness indicators, alongside scan, acoustic measurement, and design status.
Reviewing markers on the web is fast: you can move straight from one marker to the next, view all markers in the room at once, and reach marker options from the top menu rather than hunting per-marker.
Markers also do more than document the room — they help generate it. In BMR Studio's Structurals mode, markers are used to determine and apply surface colour and material to walls and floors, so the generated design more closely resembles the real space.
Next
- Room Scan — the scan that gives markers their coordinates.
- Acoustic Measurement — measure the room's RT60 and MOS score.