BMR Mobile Acoustics Tutorial
Capture accurate acoustic data from your meeting room using BMR Mobile on iPhone or iPad. The measurement gives you reverberation time (RT60) and a Mean Opinion Score (MOS) — the foundation for any acoustic improvement recommendation.
BMR Mobile guides you through a step-by-step flow, taking measurements at three positions in the room for a reliable, representative result.
Advanced vs Basic
The measurement runs in one of two modes. Advanced is the default — the app picks it automatically whenever it is possible, and falls back to Basic otherwise.
| Advanced (default) | Basic | |
|---|---|---|
| Speaker photo & position | Captured during room setup | Not captured |
| Room recognition step | Yes — the room is recognised so everything is placed in the 3D room | Skipped |
| Measurement positions | Recorded in the 3D room, visible on the Web | Not recorded |
| Requirements | Room scan + internet connection | None |
| Acoustic result (MOS, RT60) | Identical | Identical |
The mode can be controlled manually under Settings → Acoustic Settings → Advanced Measurement Mode — in the app only, not from the web platform. If the room has no scan yet, or you are offline, the app automatically runs the Basic flow and shows a hint explaining how to get Advanced back.
The position and speaker data captured in Advanced mode will be used in upcoming releases to further improve measurement quality and to enable Auralisation — letting you listen to how a room actually sounds.
Before You Start
You will need:
- iPhone or iPad with BMR Mobile installed
- A speaker connected over Bluetooth, AirPlay, USB-C, or HDMI — see Recommended Speakers
- A quiet room
Prepare the room:
- Close all windows and doors
- Turn off HVAC, fans, and any noise sources
- Keep the device's microphone uncovered
- Place the speaker at least 1 m / 3 ft away from the wall
The Measurement Flow
The flow below shows the Advanced flow — six steps, tracked by the step indicator at the top of every screen. In the Basic flow, step 2 has no speaker photo and step 3 (room recognition) is skipped entirely; everything else is identical.
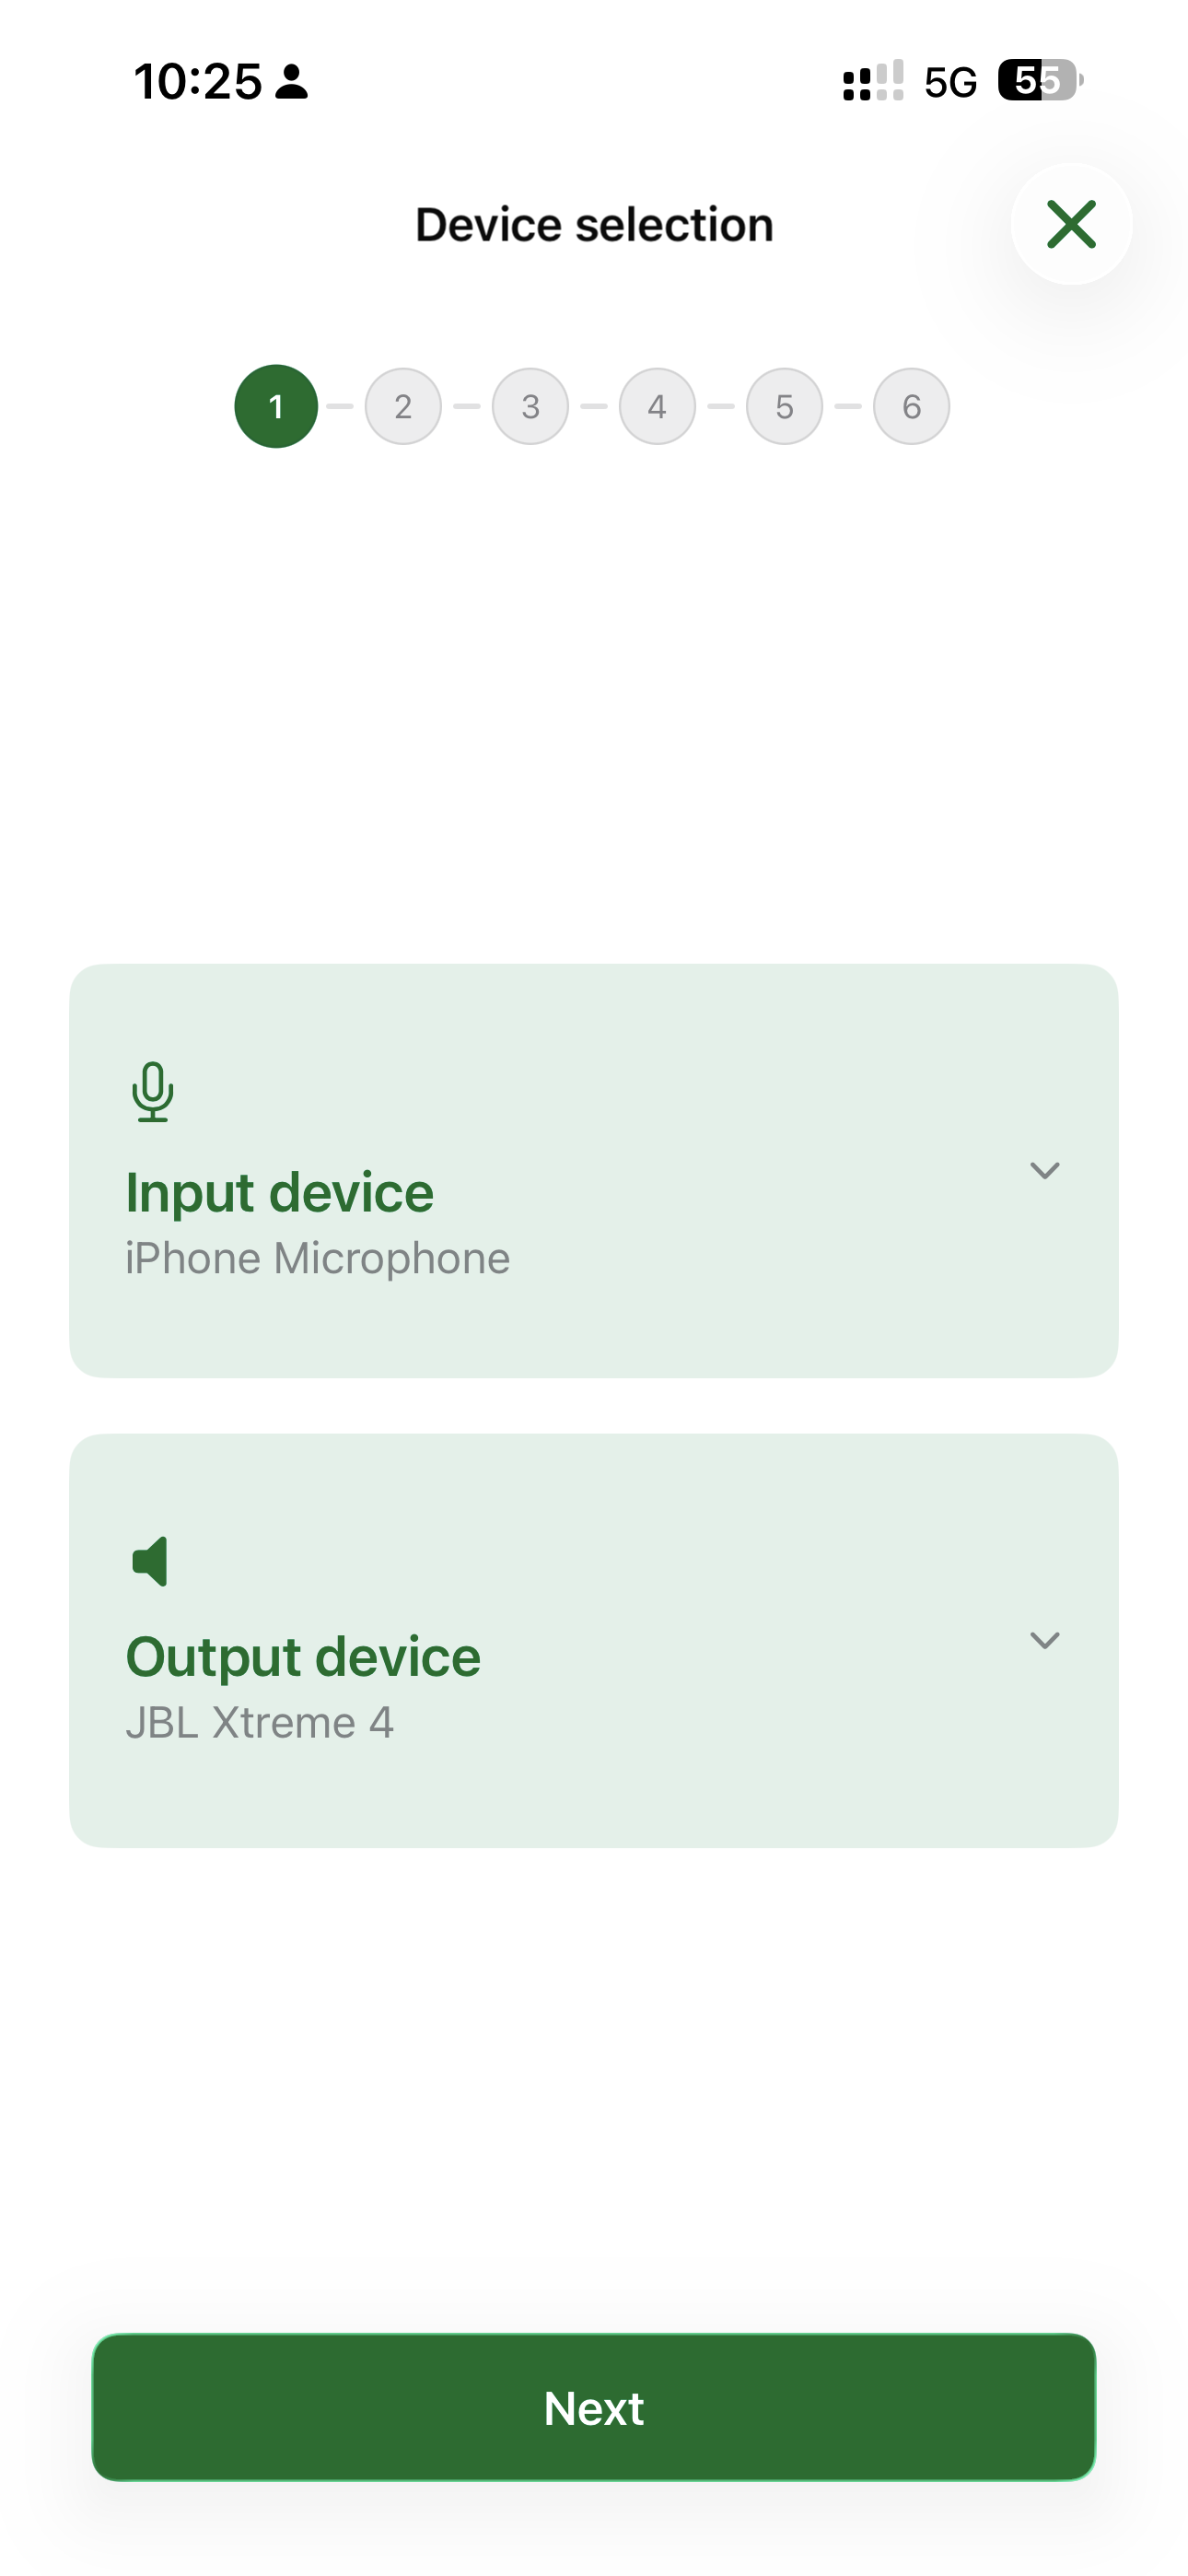
1) Select devices
Select your input (microphone) and output (speaker) devices. Tap the Output device card to choose your speaker — Bluetooth, AirPlay, USB-C, and HDMI connections are all supported.
The results screen shows:
| Result | What it means |
|---|---|
| Mean Opinion Score (MOS) | Predicted speech quality — 5 = excellent, 1 = poor |
| MOS variant | Which factors the score includes (e.g. RT+BR+N = Reverberation Time + Bass Ratio + Background Noise) — see Understanding the MOS Score |
| Average RT60 | Average reverberation time across all positions taken |
| RT60 graph | T20 reverberation time across frequency bands |
| Expert Mode | Off shows the essential metrics only; on reveals the full set of graphs and parameters |
A good meeting room typically targets RT60 < 0.5 s and MOS ≥ 3.5.
Impulse Method (Balloon Pop)
Use this method when a speaker is not available. A balloon pop or hand clap triggers the measurement.
Hand claps are inconsistent — use only as a last resort. The balloon method is less reliable than the sweep method.
- Tap the Balloon icon to start. Wait until the ambient noise level is low.
- Pop the balloon (held ~30 cm from the device) or clap sharply once when prompted.
- Remain silent for ~3 seconds while the app captures the decay.
- Review and save results.
Balloon and impulse measurements now surface ambient noise alongside the impulse result — the same context you get with the sweep flow — so you can interpret the number the same way regardless of method.
Measuring Offline
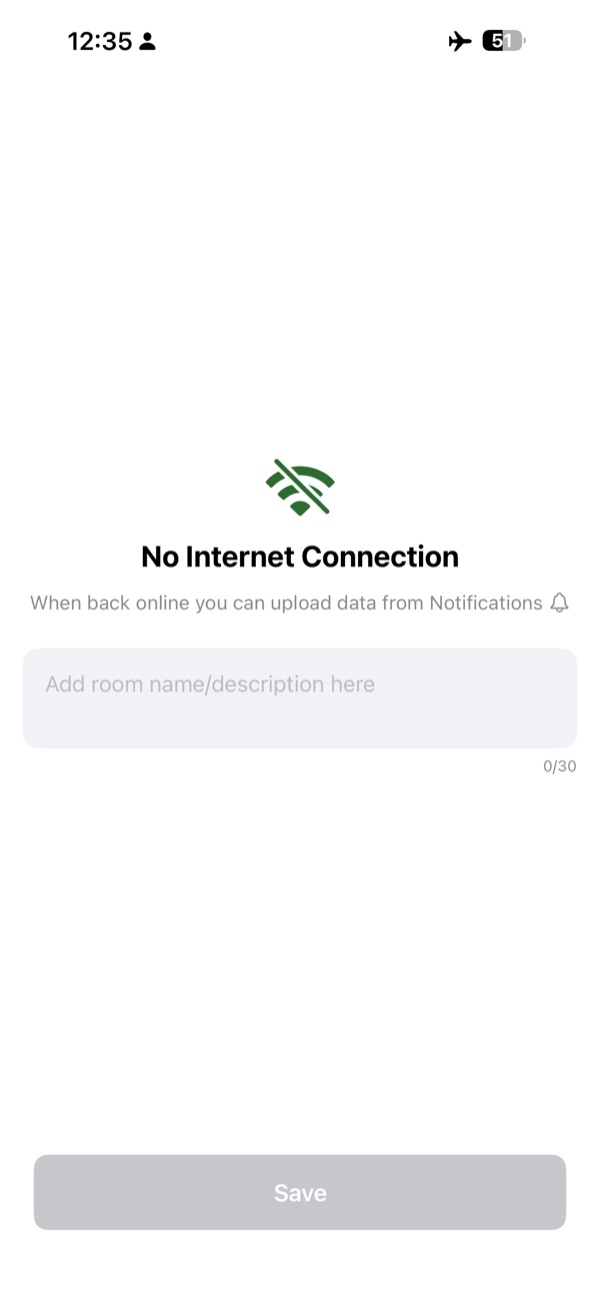
No connection? The full acoustic measurement — including the three-position guided flow — works without the network. Offline measurements run as the Basic flow, since the Advanced flow requires an internet connection.
- Run the measurement exactly as you would online.
- Add a short note describing where you took the measurement, so you can identify it later.
- The measurement queues up in the Notifications tab.
- When you are back online, upload each measurement individually and assign it to the right room.
Video walkthrough
Prefer to watch it? This video runs through the same measurement end to end.
Next Steps
Once saved, your acoustic data is available in the room's Room Data and feeds directly into the Design Phase for acoustic treatment recommendations.
- Reading acoustic results — how to interpret RT60, the Green Zone, and the graphs
- Understanding the MOS Score — what the score means and which variant you get
- Recommended speakers — speakers validated for BMR measurements
- Design Phase — request a design based on your acoustic data