Room Scan
The scan is the first thing you do in a room and the foundation for everything else. Using the LiDAR sensor in an iPhone or iPad, BMR Mobile builds a 3D model of the space in a few minutes.
What the scan captures
| Captured | Used for |
|---|---|
| 3D geometry (walls, floor, ceiling, openings) | The room model in BMR Studio; room volume for acoustic calculations |
| Compass orientation | Referencing walls by direction — see Compass orientation below |
| AR world map | Recognising the room on later visits, so markers, acoustic measurements and AR designs land in their true positions |
What the scan unlocks
Without a scan, the room works in a limited way:
- Markers are stored as photos only, without coordinates.
- Acoustic measurements run in the Basic flow — no speaker or measurement positions.
- AR Design can be explored but designs cannot be saved.
This is why the app's guidance starts with "Start here — Scan the room", and why scanning and marker capture are best done in the same visit.
What you need
- An iPhone or iPad with LiDAR — iPhone 12 Pro or newer, iPad Pro (2020) or newer
- iOS 26 or newer
- Reasonable lighting — LiDAR works in the dark, but the camera needs light to texture the scan
Capture flow, step by step
This is the Scan → Markers → Upload flow in BMR Mobile. Click any step number to jump to it, or use Previous / Next to move through it.
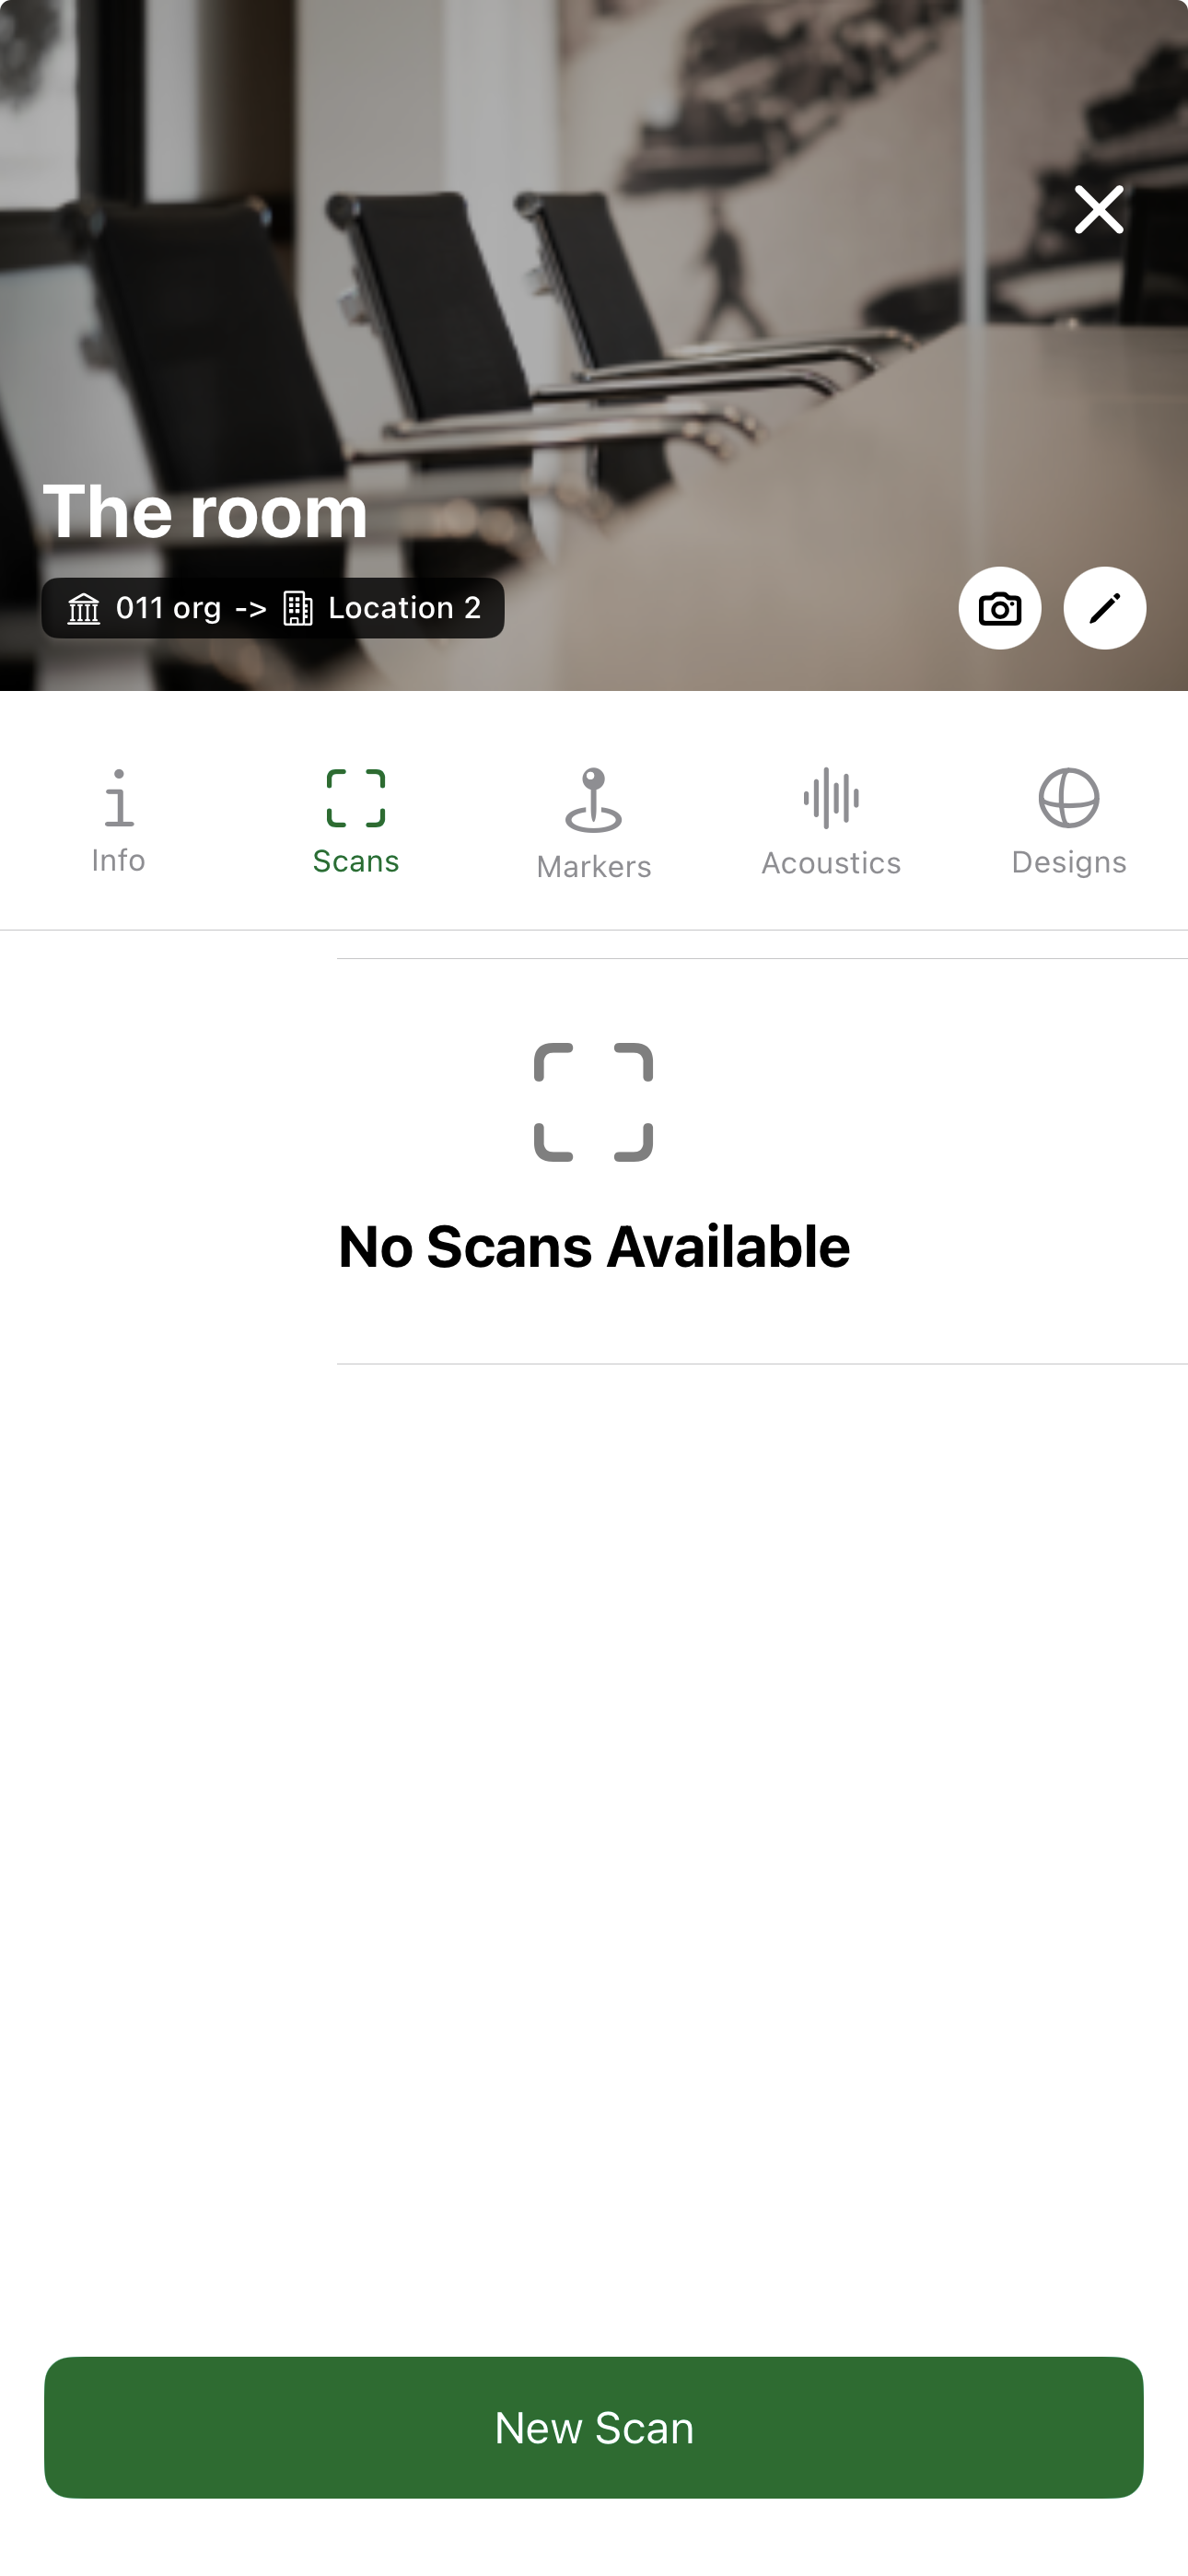
1) Start scan
Open the room and begin a new scan.
- Navigate to the correct room
- Go to Scans
- Tap New Scan
Best practices
- Move slowly — the single most common cause of gaps and drift is moving too fast. Take your time.
- Cover every corner — point the device directly into each corner; these are the most frequent source of missing geometry.
- Don't leave the room before checking — review the scan preview on site and fill any gaps immediately, while the room is still accessible.
Before you scan
- Clear the room where possible — remove temporary furniture, bags, and clutter that won't be part of the permanent layout
- Turn the lights on — good lighting helps the camera texture the scan correctly, even though LiDAR itself works in the dark
- Close blinds or curtains if direct sunlight creates strong glare on walls or floors
- Note any features that are hard to scan: glass walls, mirrors, and very dark or shiny surfaces need extra attention
During the scan
- Move slowly and deliberately — fast movements cause drift and gaps in the mesh
- Keep the device at chest to eye height and angle it slightly downward to capture floors and wall bases
- Scan all four walls fully — walk along each wall at close range (~1–1.5 m (≈3.3–4.9 ft)) to capture surfaces accurately
- Cover corners carefully — point the device directly into each corner; these are the most common source of geometry gaps
- Scan the ceiling by tilting the device upward while moving around the room — ceiling height is important for acoustic calculations
- Overlap your passes — revisit areas you're uncertain about; duplicate data is merged automatically
After the scan
- Review the scan preview in the app before leaving the room — check for obvious holes or misaligned geometry
- If the scan has gaps, run a second pass focused on the missing areas while still on site
- Capture markers immediately after scanning while you still have access to the room
Common problem areas
| Surface | Challenge | What to do |
|---|---|---|
| Glass walls / windows | LiDAR reflects or passes through glass | Scan close and slow; add a marker to document the glass boundary |
| Mirrors | Cause phantom geometry | Keep distance and note in a marker |
| Very dark surfaces | Absorb the LiDAR signal | Move closer and reduce scan speed |
| Curved walls | Require more passes to capture shape | Walk the curve at close range from multiple angles |
| Large open rooms | Risk of tracking drift | Break into overlapping sections if the room exceeds ~200 m² (≈2,150 sq ft) |
Returning to a room for a rescan takes significantly more time than spending an extra few minutes on site to get it right the first time.
If the scan stops unexpectedly
iOS can end a scanning session on its own — usually after a tracking failure or when the device is under pressure. BMR Mobile tells you which case you are in:
| What you see | What it means | What to do |
|---|---|---|
| Scanning Interrupted alert, with Retry / Exit | The session stopped before anything usable was captured | Tap Retry and start again, moving more slowly |
| The same alert suggesting you close and reopen the app | Scanning has stopped repeatedly in a row | Relaunch BMR Mobile, then scan again |
| "Scanning ended early" notice on the review screen | The session stopped, but usable geometry was already captured | Review what was captured — keep it if the room is complete, otherwise rescan |
The app will not save a scan with no geometry, so if nothing was captured you are prompted to scan again rather than ending up with an empty room model.
Compass orientation
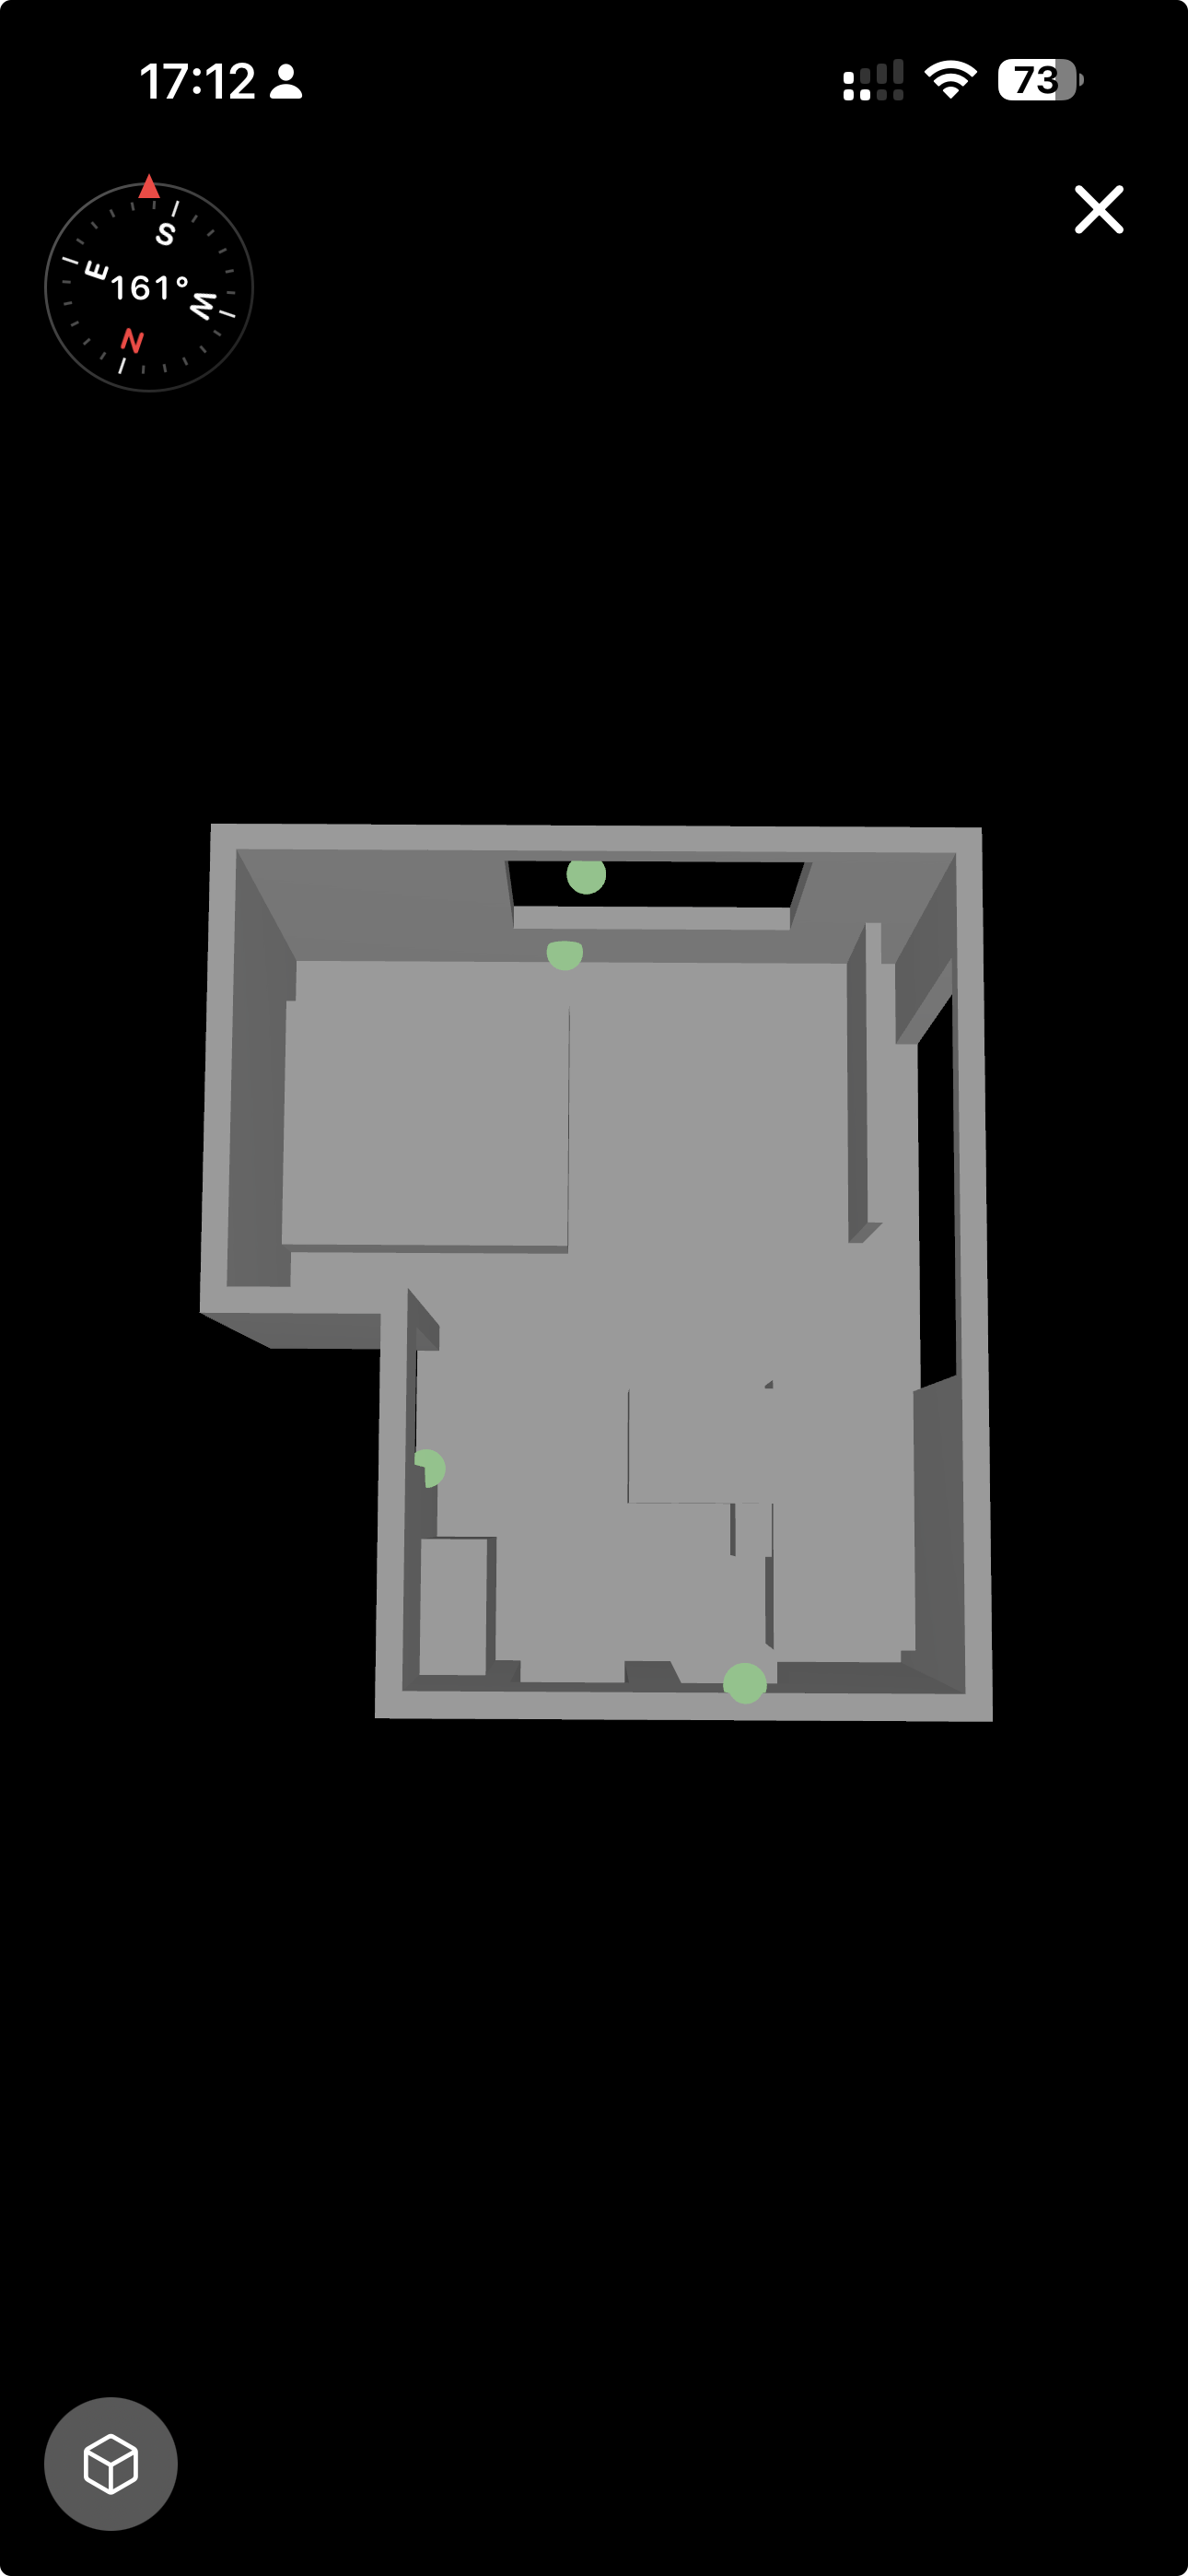
The scan also captures the room's real-world orientation, so walls, equipment, and design elements can be discussed using cardinal directions — north, south, east, west — instead of "the wall over there".
Why it matters
- Reference walls and equipment using real directions — "the screen is on the west wall" is unambiguous to everyone in the conversation.
- Hybrid design reviews work better — designers on web, technicians on-site, and IT remote all align on the same orientation.
- Foundation for spatially aware features — daylight modelling, AV positioning relative to windows, and other orientation-dependent checks.
How it's captured
Automatically, during the scan — no separate step. BMR Mobile uses the device's magnetometer, stores the orientation with the scan geometry, and syncs it so BMR Studio can use it during Design.
- Hold the device level during scanning. A device tilted heavily up or down gives the magnetometer less to work with.
- Avoid strong metal masses (large filing cabinets, server racks, structural steel) close to the device while the scan begins — they can deflect the compass.
- If the captured orientation looks wrong in BMR Studio, re-scan the room away from any nearby metal influence and the orientation will update.
In BMR Studio the room appears in its true geographic orientation, with a compass widget showing north. The orientation is part of the room's Room Data and is visible wherever the room is displayed, in BMR Mobile and on the web.
Next
- Markers — capture the context the mesh cannot show.
- Acoustic Measurement — measure the room's RT60 and MOS score.